
Your Custom Text Here
hiking mondays: st. mary's glacier (and the sprouted kitchen's ranchero black bean breakfast tostadas)
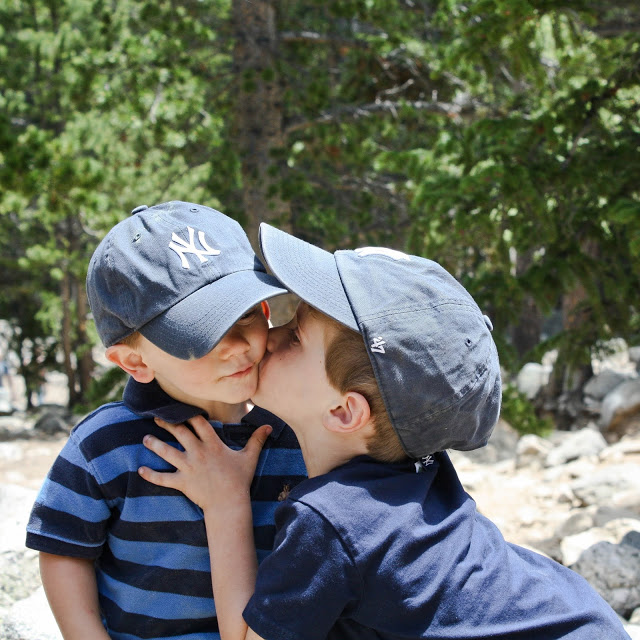
The other day, Otis turned to me and said, "Mommy, I love Colorado..." (whereby his 'r' was pronounced like a 'w'). I asked him what in particular he liked about our adopted home state and he replied, "I like the sky. I like the sunset. I like the mountains. I love the cupcakes. I like the ice cream. I like the farms. I like the rivers. I like my room. I like you. I like daddy and baby. I like the dinosaurs...(and so on and so forth)." That's when I realized that he simply loved our life here, and that we had done right by him and his brother. I also recognized that he has a serious sweet tooth.


 Someone once gave me a bit of parenting advice that went something like, "start 'em young"- which is what we have tried to do with our children. We've exposed them to art and music and we hope we've given them an appreciation for books and the ability to think creatively. And every week, despite their young age, we've shown them how wonderful and spectacular their environment is, right here in this beautiful place called Colorado. On Mondays we get dressed, slather on the sunscreen, grab our hiking buckets (which aids in the collection of rocks) and set out on a trail...
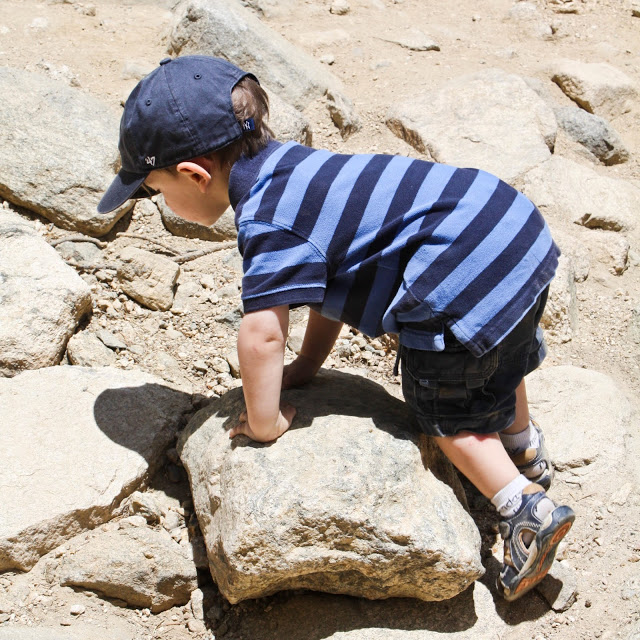
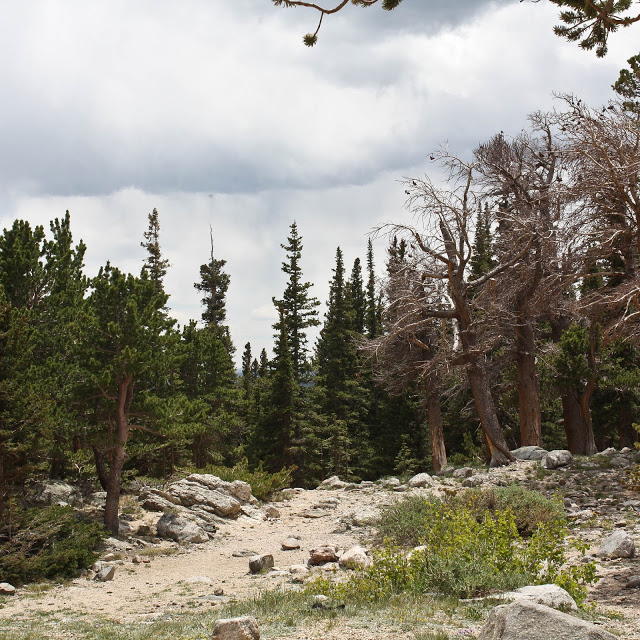
 Nothing, and I mean nothing, can beat nature. I've often said that being out in the wilderness is the closest I come to feeling any sort of spirituality or religiosity, and it's one of the few ways I can really clear my mind. At the very least, it helps put things into perspective. The mountains here are so breathtaking, the sunsets are nothing short of spectacular...and the fact that so many incredible places are only an hour's drive from our urban oasis, makes me happy and thankful.
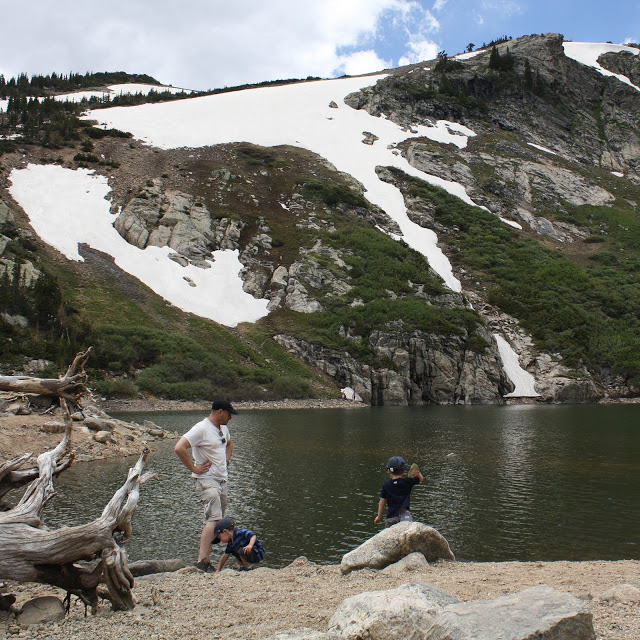
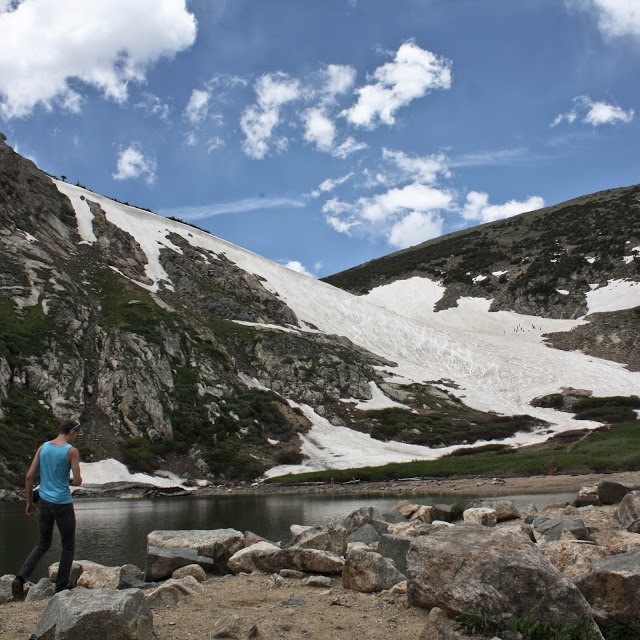
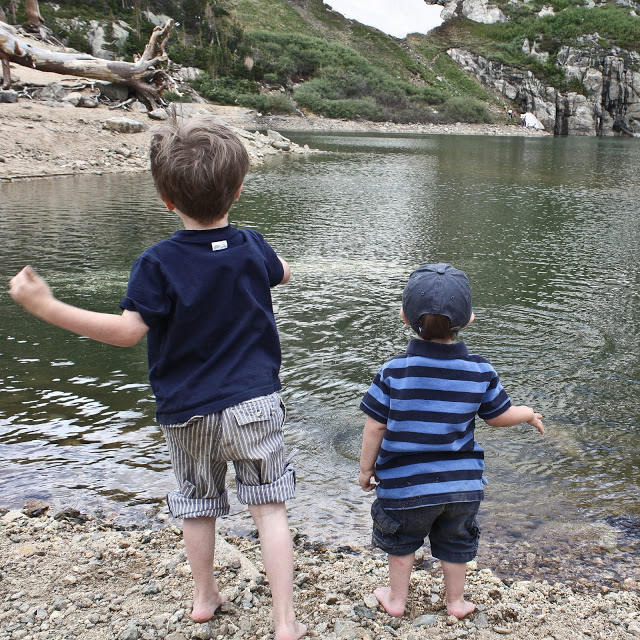
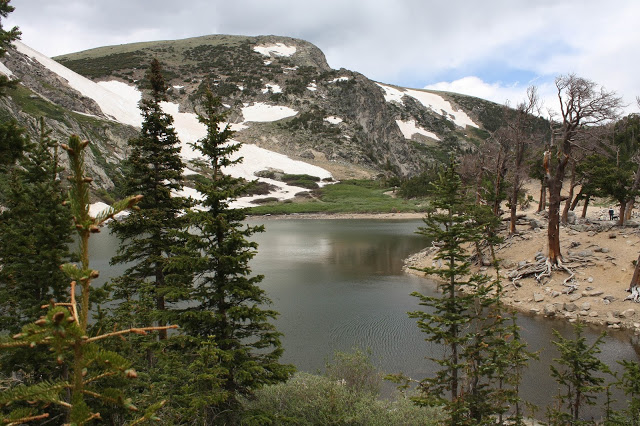
 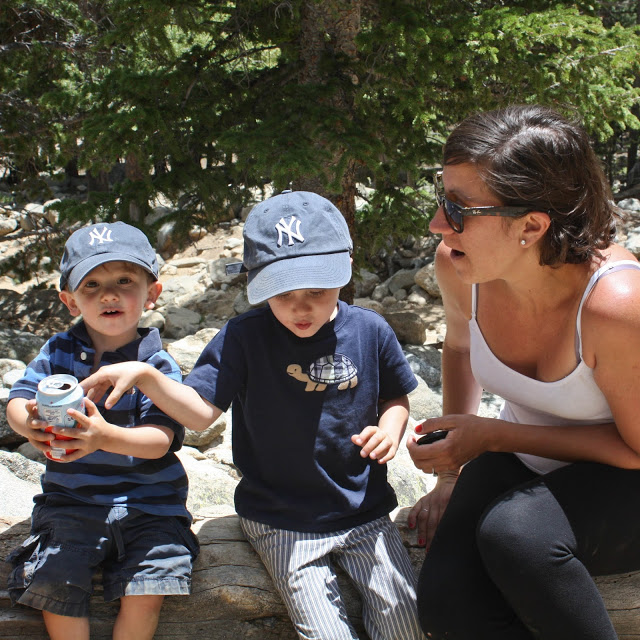 Yesterday we went to St. Mary's Glacier. We've been once before, but this time the boys did a great majority of the ascend and descend by themselves. Theodore excitedly jumped over the boulders and Otis loved skipping rocks once we got to the glacial lake. We all got a big kick out of the snow-shoers and sledders who were having fun on the glacier (look closely and you'll see them! They are the little black dots on the widest swath of snow.).
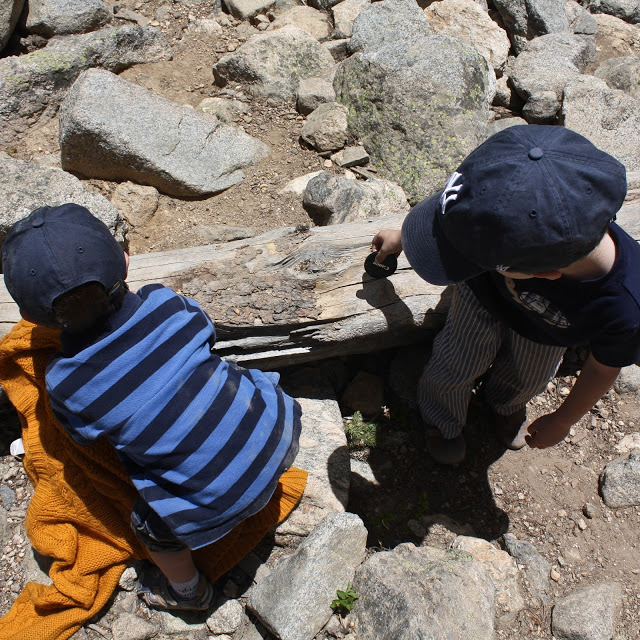


While we were laughing and walking up the mountain, something happened that brought me to tears. As we were rounding a bend, a youthful, female Rottweiler-Labrador mix came running around the curve. She took my breath away. I was standing next to Theo who screamed out, "Omar. It's Omar, mommy. Look, you see?" But as many of you know, Omar is no longer with us. The dog, Abby, bore the most striking resemblance to Omar that I have ever seen, and as we pet Abby I began to cry.
Someone once gave me a bit of parenting advice that went something like, "start 'em young"- which is what we have tried to do with our children. We've exposed them to art and music and we hope we've given them an appreciation for books and the ability to think creatively. And every week, despite their young age, we've shown them how wonderful and spectacular their environment is, right here in this beautiful place called Colorado. On Mondays we get dressed, slather on the sunscreen, grab our hiking buckets (which aids in the collection of rocks) and set out on a trail...Nothing, and I mean nothing, can beat nature. I've often said that being out in the wilderness is the closest I come to feeling any sort of spirituality or religiosity, and it's one of the few ways I can really clear my mind. At the very least, it helps put things into perspective. The mountains here are so breathtaking, the sunsets are nothing short of spectacular...and the fact that so many incredible places are only an hour's drive from our urban oasis, makes me happy and thankful. Yesterday we went to St. Mary's Glacier. We've been once before, but this time the boys did a great majority of the ascend and descend by themselves. Theodore excitedly jumped over the boulders and Otis loved skipping rocks once we got to the glacial lake. We all got a big kick out of the snow-shoers and sledders who were having fun on the glacier (look closely and you'll see them! They are the little black dots on the widest swath of snow.).While we were laughing and walking up the mountain, something happened that brought me to tears. As we were rounding a bend, a youthful, female Rottweiler-Labrador mix came running around the curve. She took my breath away. I was standing next to Theo who screamed out, "Omar. It's Omar, mommy. Look, you see?" But as many of you know, Omar is no longer with us. The dog, Abby, bore the most striking resemblance to Omar that I have ever seen, and as we pet Abby I began to cry.
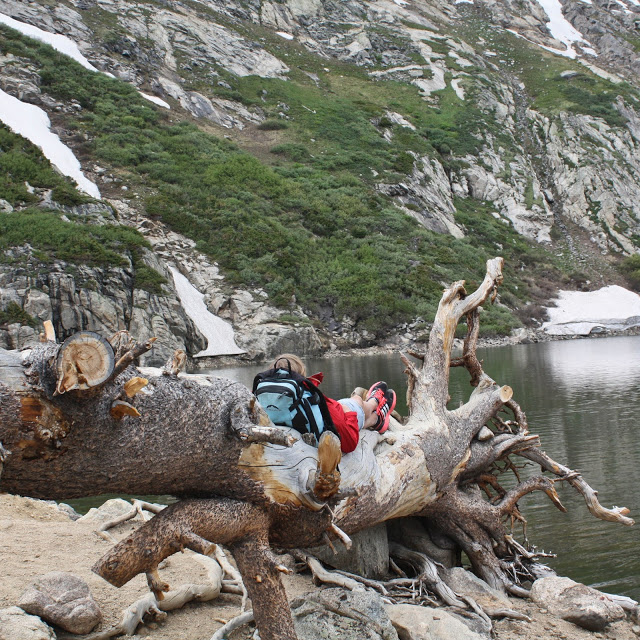
I thought about Omar the rest of the way up the mountain. But as we got to the glacier and saw the lake, I had this feeling that everything would be okay. The vastness and the beauty of nature makes us feel like, even in times of loss, we can still go on...because there is still so much beauty remaining. And so, as I sat with my boys and my husband by the lake, I thought about how good our life is, despite the heartache and challenges that come with the journey...and I thought about a dog named Omar, whom I still miss dearly.


location: St. Mary's Glacier is near Idaho Springs, exit 238 off I-70 and follow the signs.
elevation: 10,000 feet.
duration: 3/4 of a mile each way.
duration: 3/4 of a mile each way.
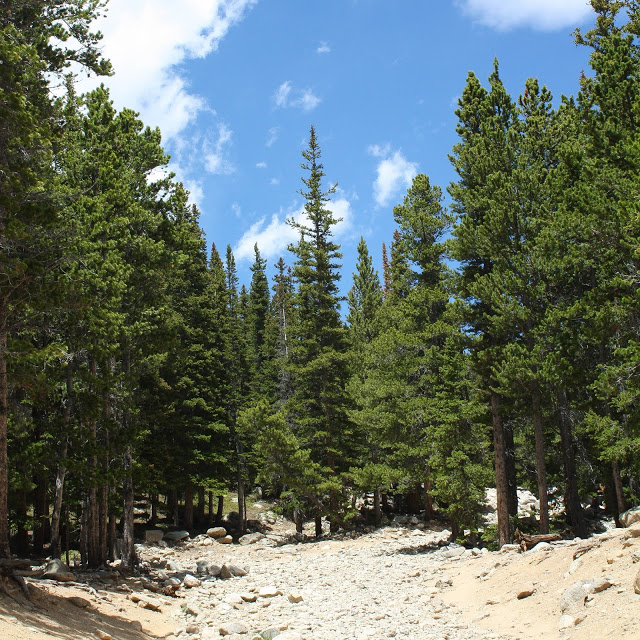
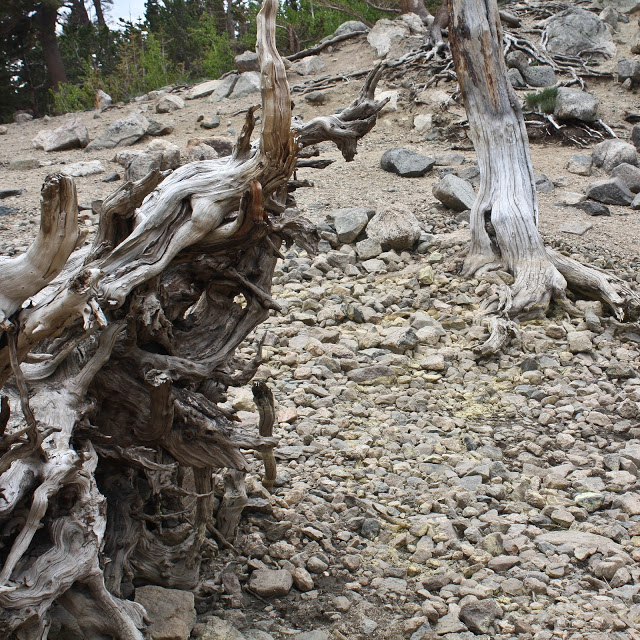
hiking terrain: Rocky boulders all the way up until you get to the lake and the glacier.
things people do at the lake: picnic, walk, snow-shoe, cliff dive (I'm not endorsing this one), climb trees, sled.
things people do at the lake: picnic, walk, snow-shoe, cliff dive (I'm not endorsing this one), climb trees, sled.
other stuff: There is a $5 fee for the parking lot. Do not park on the side of the roadway or you will get towed. Walk up the hill from the parking lot. On the left-hand side, past a gate, you will see an opening and a sign for St. Mary's Glacier.
and a final caveat: The traffic coming back into Denver on I-70 can get pretty bad due to tunnel construction. Bring good music and/or a book (if you're not the driver). You'll need it!

and a final caveat: The traffic coming back into Denver on I-70 can get pretty bad due to tunnel construction. Bring good music and/or a book (if you're not the driver). You'll need it!
* * *
Before heading out, I made this. It was simple, tasty, and filling-- it kept me going the whole way up and the whole way down from St. Mary's Glacier.
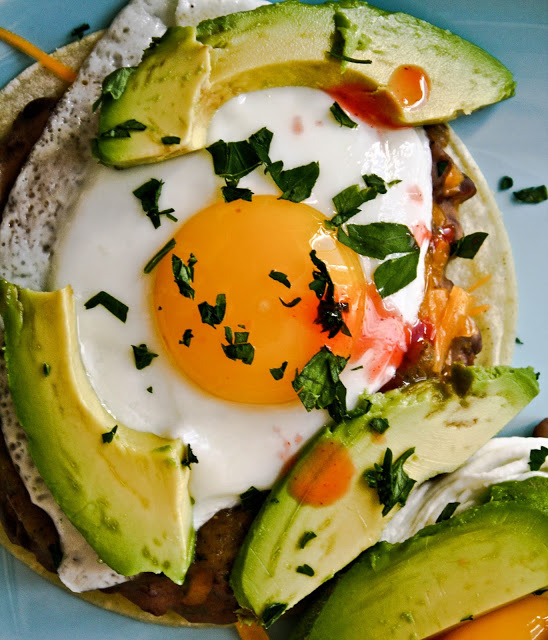
Ranchero Breakfast Tostadas
barely modified from A Sprouted Kitchen: A Tastier Take on Whole Foods (by Sara Forte)
Serves 4
Notes: I used canned beans, but you could soak fresh ones overnight. I topped the tostada with a fried egg, but a poached or scrambled egg would work just as well.
Ingredients
Black Bean Mash
2 cups cooked black beans (I used canned in the interest of time)
1/4 to 1/2 cup light sour cream (I liked it better with, not surprisingly, the 1/2 cup)
2 green onions, white and green parts, chopped
1 teaspoon ground cumin
1/2 teaspoon sea salt, plus more to taste
1 teaspoon freshly ground pepper
8 small corn tortillas
Extra-virgin olive oil, for brushing
1 tablespoon unsalted butter
8 eggs
1 cup shredded white Cheddar cheese
2 avocados, peeled and thinly sliced
1/3 cup chopped fresh cilantro
1 lime, in wedges
Hot sauce, for serving (optional)
Preparation
Whether cooking the beans from scratch or using canned, drain the beans and add them to a saucepan over low heat and warm through. Add about 1/4 cup tepid water, 1/4 cup of the sour cream, the green onions, cumin, salt, and pepper and mash with a potato masher or a large fork until coarsely mashed but not entirely smooth. Taste for salt and pepper, add the remaining sour cream if you'd like the beans to be creamier, then turn off the heat and keep covered until needed.
Preheat the oven to 400 degrees F. Brush the tops of the tortillas with a bit of olive oil and lay them on a rimmed baking sheet (it's fine if they overlap). Bake until just lightly browned, 6 to 8 minutes. Remove from the oven and set aside.
Heat a large frying pan with the coconut oil over medium heat. Working in batches as necessary, gently break the eggs in the pan and cook sunny-side up or to your desired doneness, covering the pan if you like your yolks more cooked through. Build a tostada by topping a tortilla with about 1/4 cup of the bean mash, 1 egg, and an eighth of the cheese, avocado slices, and cilantro. Repeat with the remaining ingredients. Serve garnished with a slice of lime and hot sauce to taste.
Tomatillo-Sauced Enchiladas with Spinach and Mushrooms (To Go!)
I grew up in New York City, which is an
incredibly diverse place. Yet surprisingly, and somehow, Cinco de Mayo flew under my radar. There's a Mexican neighborhood in Sunset Park,
Brooklyn, but it's nothing compared to the size of the Mexican communities in
Texas, Arizona, New Mexico, Colorado or California.
Anyway, I first heard of the holiday the year after I graduated from college and moved to
San Francisco. An office mate invited me to what would be my first Cinco de Mayo party. "Cinco de what?" I replied, as I
opened my day planner. Then I said something like, "Sure, I'd love to come
to the party! What's that date again?" There were blank stares. And a few eye rolls.
Many years later, I've got dozens of Cinco de Mayo parties under my belt. And here in Colorado there are tons of
festivities around town and a two-day celebration is held at Civic Center
Park. We decided to go to a friend's house to celebrate on the 5th and went
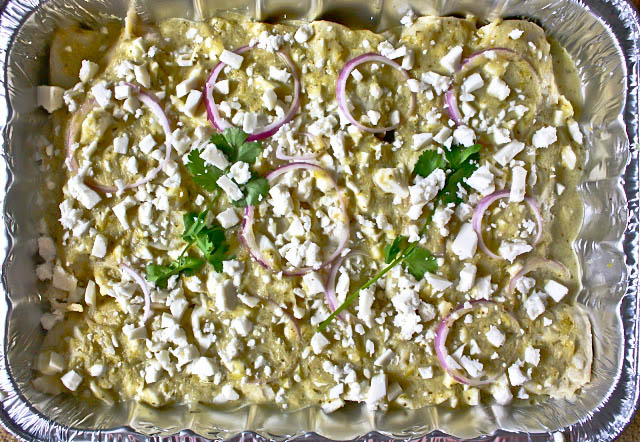
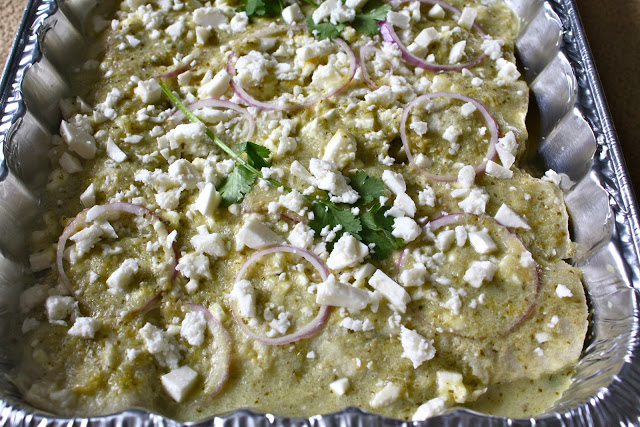
downtown on the 6th. For the occasion I made these Tomatillo-Sauced Spinach
& Mushroom Enchiladas. They were delicious. I ate so many that I felt like
a piñata about to burst. In a good way, sort of.
I adjusted the heat of the tomatillo salsa a bit,
but you can tweak it to your suit your taste preference. I thought the dish was
a really nice twist on a casual, yet traditional, Mexican entree.
I had some tomatillo salsa (salsa verde) to
spare, so the next morning I put it on top of some baked eggs with Gruyere, which was also very delicious!
Enjoy!
Tomatillo-Sauced Enchiladas with Spinach and
Mushrooms (Adapted from Rick Bayless, via Cookstr)
Yield : Serves 4
Ingredients
3 garlic cloves, peeled
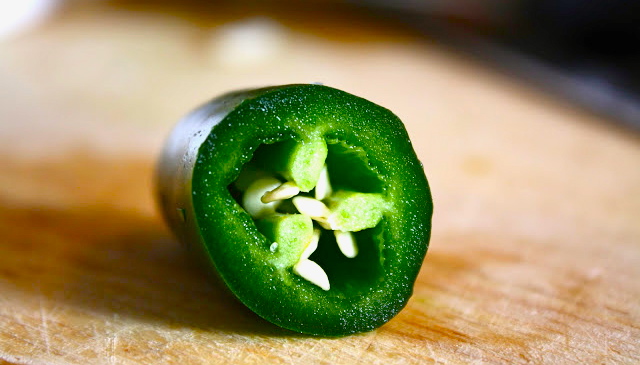
1 medium-sized (2 1/2 inches) jalapeño, stemmed,
seeded and quartered (if you want it hotter, leave the seeds in-- I've made it
both ways)
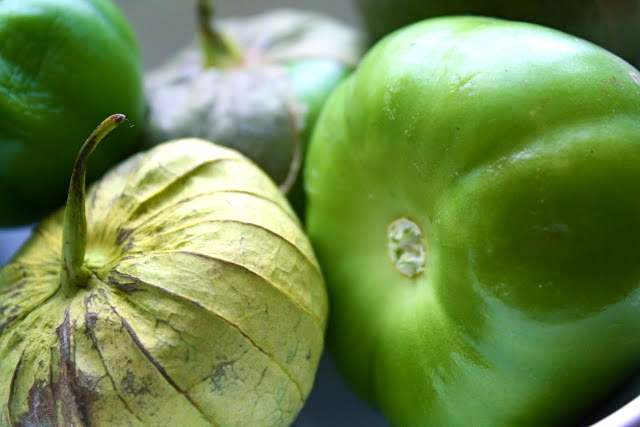
1 ½ pounds (10 to 12 medium) tomatillos, husked,
rinsed and cut into quarters
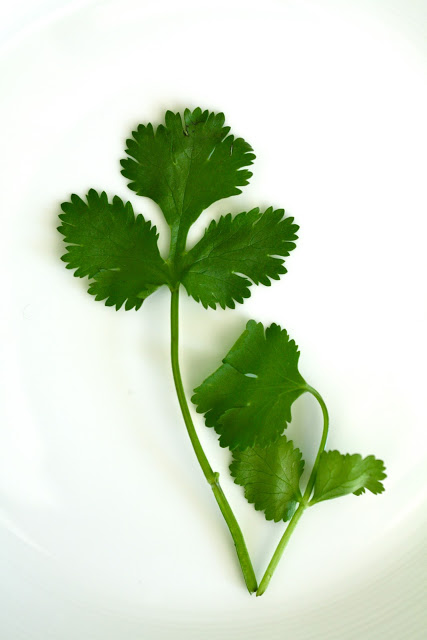
¾ cup (loosely packed) roughly chopped cilantro,
plus a few extra sprigs for garnish
4 tablespoons vegetable oil or olive oil, plus
some for the tortillas
2 cups vegetable broth, plus water as needed
8 ounces mushrooms (I used button, but you can
use oyster or shiitake too), stemmed and sliced
1 large red onion, thinly sliced
10 ounces (about 10 cups) spinach, stems removed
Salt
12 corn tortillas, preferably store-bought
5 tablespoons Mexican cream, sour cream, heavy
cream or crème fraiche
1 cup (4 ounces) crumbled Mexican queso fresco
Directions
Turn on the oven to 350 degrees. With a food
processor or blender running, drop in the garlic and chiles one piece at a
time, letting each piece get finely chopped before adding the next. Add the
tomatillos and cilantro; process until smooth.
Heat 1 ½ tablespoons of the oil in a medium
(3-quart) saucepan over medium-high. Add the puree and cook, stirring nearly
constantly, until the mixture has reduced to the consistency of thick tomato
sauce, about 7 minutes. (The more you cook down this base, the richer and
sweeter the tomatillo sauce will be.) Add the broth and simmer over medium heat
for about 10 minutes to blend the flavors. (If the heat is a bit too much, you
can mellow it a bit by adding some water.)
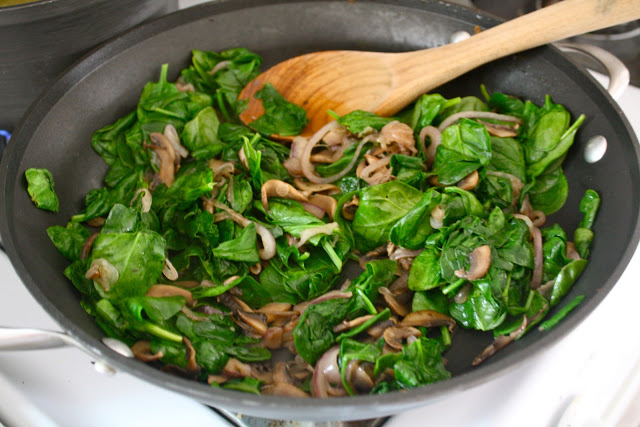
While the sauce is simmering, heat the remaining
1 ½ tablespoons oil in a very large (12-inch) skillet over medium-high. Add the
mushrooms and cook, stirring nearly constantly, for a couple of minutes, until
they begin to brown. Add about three-quarters of the onion (reserve the rest
for garnish) and continue cooking, stirring frequently, for another minute or
two, until the onion looks translucent. Add the spinach and optional chicken or
ham and cook, stirring constantly, for a minute or so, until the spinach is
wilted. Season with salt, usually a scant teaspoon. Cover to keep warm.
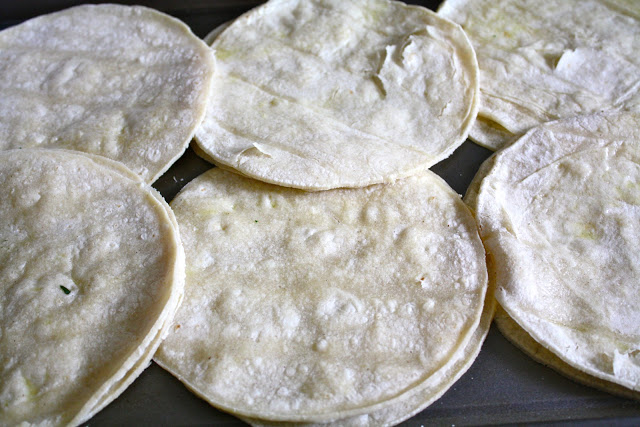
Lay out the tortillas on a baking sheet and spray
or brush lightly on both sides with oil or bacon drippings, then stack them in
twos. Slide the tortillas into the oven and bake just long enough to make them
soft and pliable, about 3 minutes. Remove from the oven and stack them in a
single pile; cover with a kitchen towel to keep warm. (This step is necessary.
If you skip it, and try filling the tortillas without baking or frying them,
they will fall apart when you start to roll them up.)
Stir the cream (or its stand-in) into the sauce.
Taste and season with salt, usually about 1 teaspoon (add the sugar if the
sauce seems quite tart to you). Holding a tortilla by one edge, dip most of it
into the sauce, then lay it on a plate. Spoon a heaping 2 tablespoons filling
down the center, roll up and lay seam side down in a dinner plate. Repeat with
2 more tortillas, arranging them on the same dinner plate. Douse the enchiladas
with about ¼ cup of the warm sauce, sprinkle with a quarter of the crumbled
cheese and garnish with some of the reserved onion and cilantro sprigs.
Assemble the rest of the servings, and carry to the table without hesitation.
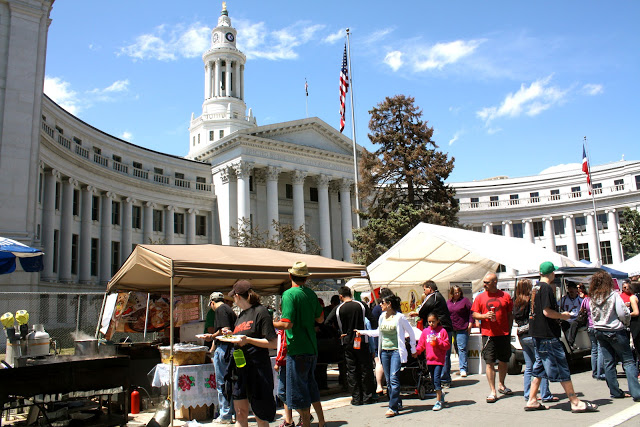
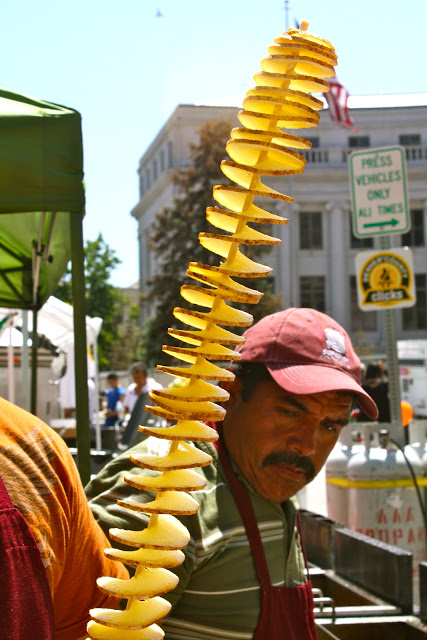
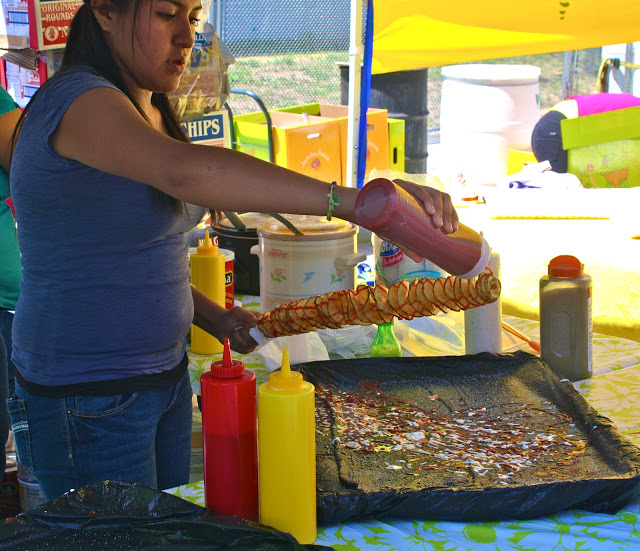
The day after Cinco de Mayo we decided to
head down to the Civic Center to check out the scene and eat some food. (The
temperature had also dropped about 20 degrees, so it was a much better day for
walking around.) The park was seemingly less crowded than it had been the day
before, but there were still lots of people, great food stalls and live
music...and a lot of Tecate.
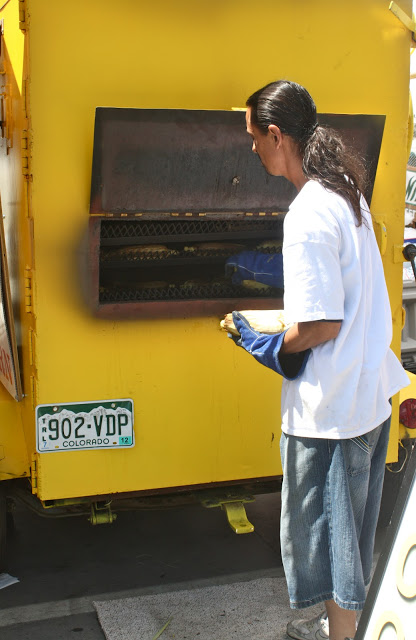
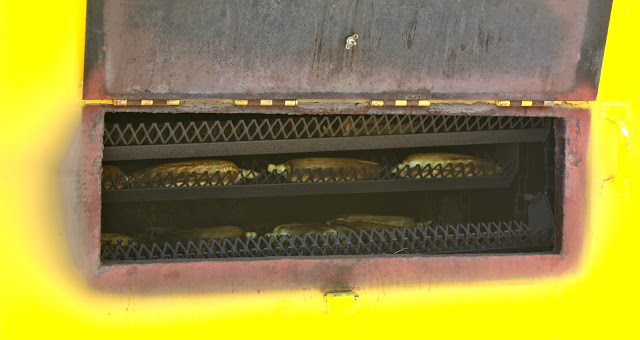
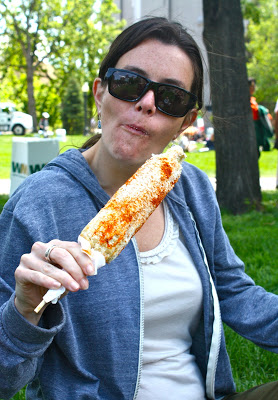
My favorite snack of the day were the elotes, ears of corn
smothered in mayonnaise, chili powder and cotija cheese. Mmm, yum.
We topped things off with a funnel cake, which is
decidedly un-Mexican, but very much a part of fair/street food. Deep fried
batter sprinkled with powdered sugar?! Yes, please!
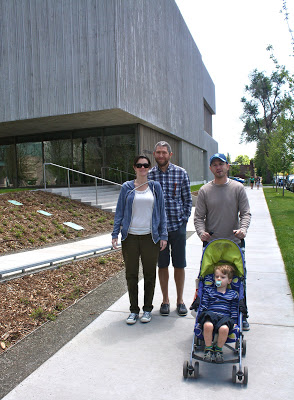
On the way back to the car we passed the Denver
Art Museum (YSL is still going on), the main library, some great public
art, and the Clyfford Still
Museum (still one of my favorites, pardon the pun).
All in all, we had a great time celebrating Cinco
de Mayo and I'm looking forward to celebrating again next year, on the 5th
of May!


Food Lab's Best Basic Guacamole

I saw this recipe posted on Food Lab: The Best Guacamole (and the Science of Avocados) and knew that I had to try it. I had a bunch of avocados in my kitchen...and they were getting riper by the minute.
This really is a fantastic guacamole that takes about 15 minutes to make. I made two adjustments: I used about 1/3 cup of cilantro (instead of the recommended 1/2 cup) and replaced serrano chili with jalapeño because that's what I had in my house. My only caveat is this: don't serve this guacamole with super-salty chips. The dip has enough salt in it, and if you use a salty chip, it could be a bit a much. That said, this is now going to be my go-to guacamole recipe. Chunky, creamy and the heat's just right. There aren't many ingredients (6 to be exact) and this is a very affordable homemade party dip. The texture is perfect and the taste is fabulous! Enjoy.

 Best Basic Guacamole (Adapted from J. Kenji Lopez-Alt, Serious Eats)
 Serves 8 as an appetizer
Ingredients
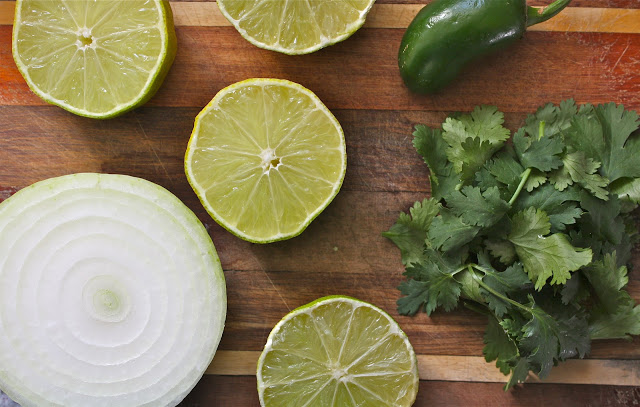
1 small yellow onion, roughly chopped
1 jalapeño chili, roughly chopped (original recipe uses serrano)
1/3 cup picked cilantro leaves, finely chopped, divided (original recipe uses 1/2 cup)
2 teaspoons kosher salt (*go with 1 1/2 teaspoons to start, and add more to taste)
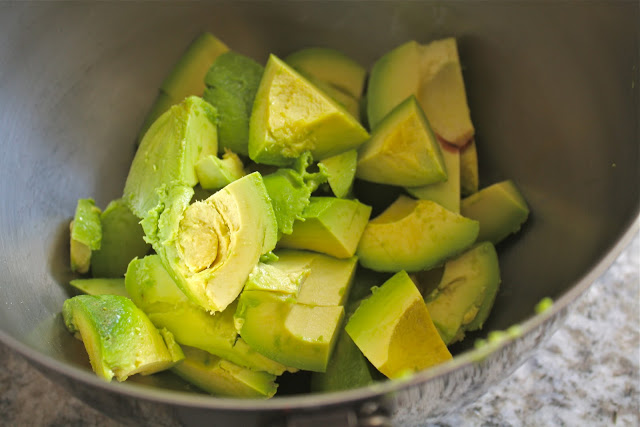
4 ripe avocados
2 tablespoons fresh lime juice
Preparation
Place onion, chili, half of cilantro leaves, and salt in a mortar and pestle. Pound into a fine paste. Alternatively, combine onion, chili, half of cilantro, salt, and half of lime juice in a food processor or blender and process until smooth paste is formed, scraping down sides as necessary.
Split each avocado in half, discard pits, and spoon out flesh into a medium bowl. Roughly mash with a stiff whisk. Add onion/chili puree, remaining cilantro leaves, and half of lime juice. Fold to combine. Season to taste with more salt and lime juice. Serve immediately with warm tortilla chips.

Childhood Favorites with a Twist: Comte Grilled Cheese and Queso Quesadillas with Papaya-Avocado Salsa
 Last Sunday I stumbled upon a collection of recipes that I had clipped from the New York Times Dining & Wine section. The recipes were part of an article titled "Taking Back A Childhood Favorite" [printed on April 11, 2007] and included grilled cheese sandwiches and cheese quesadillas. But the recipes weren't standard or typical; they offered unique and delicious twists on the classics. And they were incredibly easy to make, with a prep time of about 10-15 minutes each.
Recipe No. 1:
Comté Grilled Cheese with Cornichon Spread (Adapted Slightly)
2 tablespoons whole grain mustard
2 tablespoons mayonnaise
2 tablespoons finely chopped cornichons or other pickles
4 slices whole-grain bread or multigrain baguette
1/4 pound Comté cheese, sliced
1 tablespoons unsalted butter
Preparation:
1. Whisk together mustard, mayonnaise and cornichons. Spread on 4 slices of bread and divide cheese among bread slices, to make 2 sandwiches.
2. Melt butter in a medium skillet over moderate heat. Cook sandwiches until golden on both sides, 1 to 2 minutes a side, pressing down on sandwiches with spatula. Reduce heat to low and cover; cook until cheese melts completely, about 2 minutes more. Serve hot.
Note: You can also make this in a Panini press.
Yield: 2 servings.
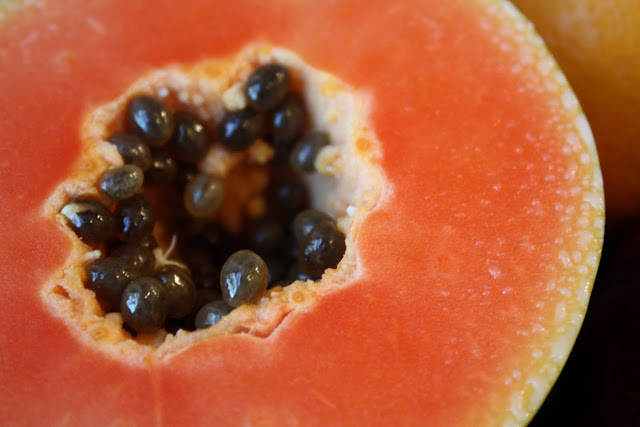
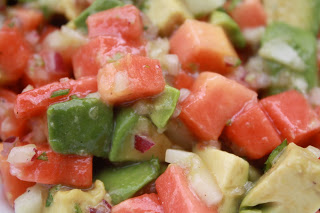
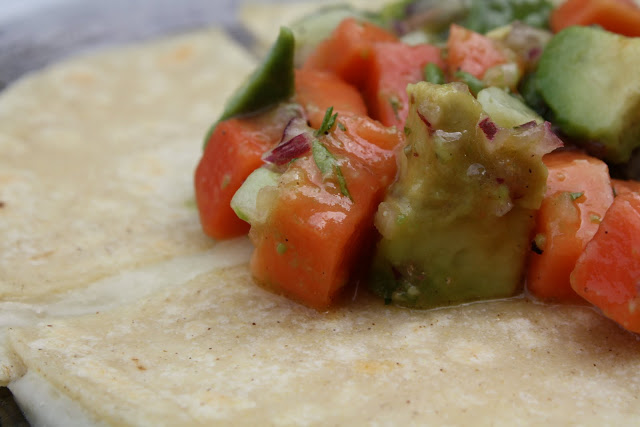
Queso Quesadillas with Papaya-Avocado Salsa- I made it last night. The original recipe calls for queso fresco, but I opted for a really nice Monterey Jack at the suggestion of my local cheese monger. The sweetness of the papaya mixed with the richness of the avocado, plus a bit of bite from the red onion, was perfection. You could probably use this as a party dip too!
 For the salsa:
1 cup cubed fresh peeled papaya
1/2 avocado, peeled and cubed
1/4 cup cubed, seeded cucumber
1 tablespoon flat leaf parsley (the original recipe has cilantro, use it if that's your preference)
2 tablespoons finely chopped red onion
2 tablespoons freshly squeezed orange juice
2 tablespoons freshly squeezed lime juice
1 tablespoon extra virgin olive oil
1/2 teaspoon kosher salt
Freshly ground black pepper
 For the quesadillas:
4 6-inch corn tortillas
1/4 pound of a good Monterey Jack
The original recipe calls for broiler cooking (which I did last night), but I found that the cheese oozed out to quickly and the tortilla got a little burnt. I made this recipe again for lunch today and used a fry pan, with medium heat, and the quesadillas were perfect. Use a tiny bit (not even a pat, but a rub) of butter and place the tortilla on the pan. Add the cheese and top with another tortilla, cooking each side about a minute. Remove from heat and place salsa on top. Yum. Serve immediately.
Yield: 2 servings.
2. Melt butter in a medium skillet over moderate heat. Cook sandwiches until golden on both sides, 1 to 2 minutes a side, pressing down on sandwiches with spatula. Reduce heat to low and cover; cook until cheese melts completely, about 2 minutes more. Serve hot.
Note: You can also make this in a Panini press.
Yield: 2 servings.
*
Recipe No. 2:Queso Quesadillas with Papaya-Avocado Salsa- I made it last night. The original recipe calls for queso fresco, but I opted for a really nice Monterey Jack at the suggestion of my local cheese monger. The sweetness of the papaya mixed with the richness of the avocado, plus a bit of bite from the red onion, was perfection. You could probably use this as a party dip too!
Queso Quesadillas with Papaya-Avocado Salsa (Adapted)
1 cup cubed fresh peeled papaya
1/2 avocado, peeled and cubed
1/4 cup cubed, seeded cucumber
1 tablespoon flat leaf parsley (the original recipe has cilantro, use it if that's your preference)
2 tablespoons finely chopped red onion
2 tablespoons freshly squeezed orange juice
2 tablespoons freshly squeezed lime juice
1 tablespoon extra virgin olive oil
1/2 teaspoon kosher salt
Freshly ground black pepper
4 6-inch corn tortillas
1/4 pound of a good Monterey Jack
The original recipe calls for broiler cooking (which I did last night), but I found that the cheese oozed out to quickly and the tortilla got a little burnt. I made this recipe again for lunch today and used a fry pan, with medium heat, and the quesadillas were perfect. Use a tiny bit (not even a pat, but a rub) of butter and place the tortilla on the pan. Add the cheese and top with another tortilla, cooking each side about a minute. Remove from heat and place salsa on top. Yum. Serve immediately.
Yield: 2 servings.


I enjoy traveling, photography, hiking, street art, design, architecture, food trucks, gardening, the cosmos, cooking with the seasons, political activism and wallpaper! I know my interests span a variety of categories, here's where they all come together.

