Hold 'Em: Helen Corbitt's Texas Caviar

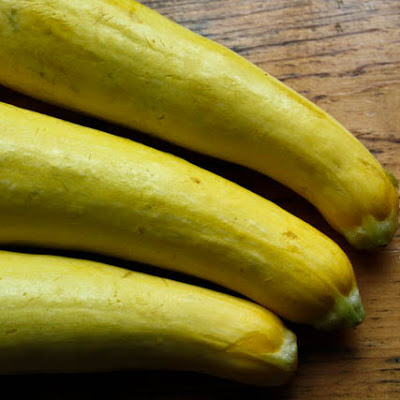
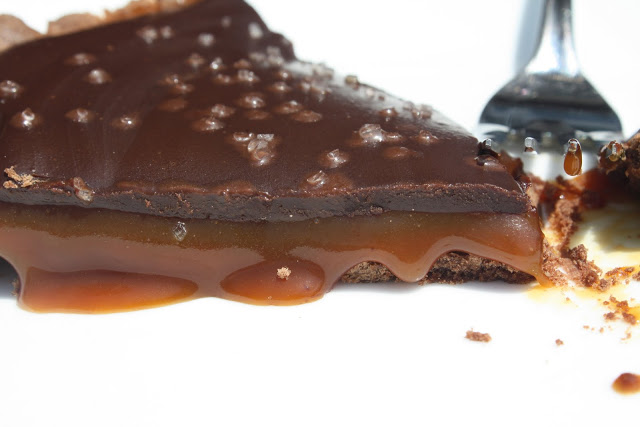
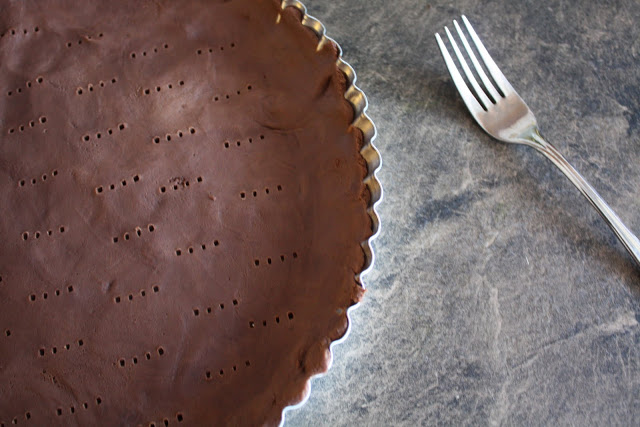
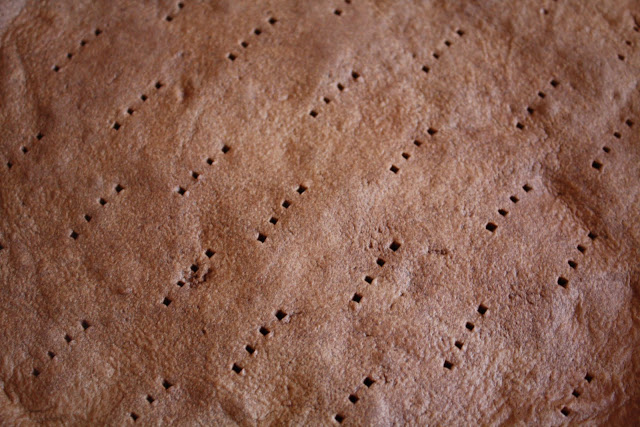
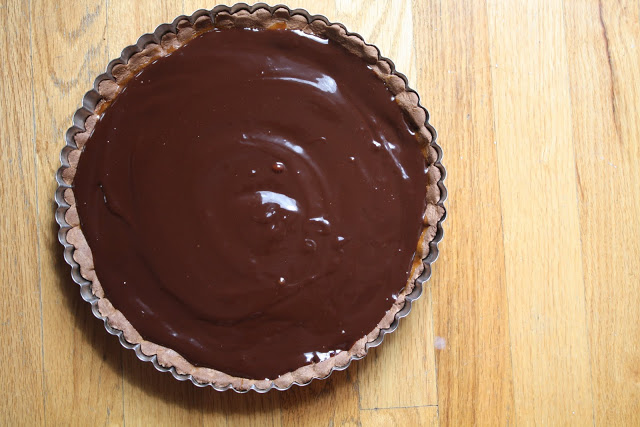
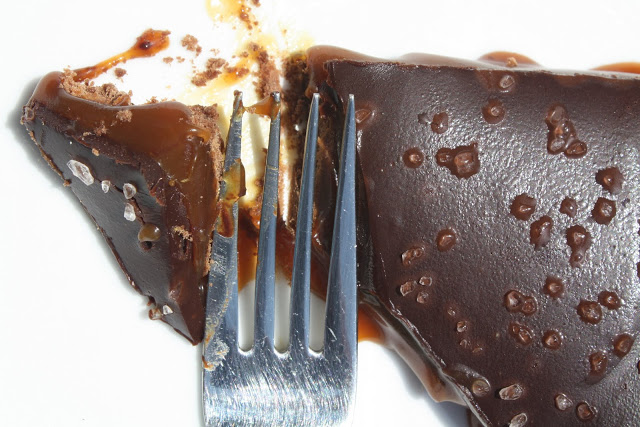
Looking for that perfect picnic side dish? I was too. I've made Ina's French Potato Salad a million times and I wasn't looking for an appetizer so hummus was out. I've made plenty of soups recently (Summer Squash with Thai Curry Paste, Chilled Cucumber Soup, Cauliflower Soup with Mustard Croutons) but now what I was really looking for was a bona fide side dish. I also wanted to increase my legume intake. I stumbled upon this flavorful (and simple) recipe for "Texas Caviar"  when I was going through old copies of Saveur Magazine (I also got reacquainted with this winner for Chocolate Caramel Tart). I've had eggplant caviar, but never Texas caviar... until now.
There are some nice bold flavors in this side thanks to the chile, vinegar, cilantro and red onion. It's also 'no-cook' which, if you are a Sparrows & Spatulas fan, know is something that is very important to me as the mercury rises (and rises and rises). Oy! With an elderly canine, a toddler and a baby-on-the-way (one that is now past due), sitting in a really hot kitchen isn't my idea of a good time.  
This is so easy.  Just mix the ingredients and chill.  
Texas Caviar (Courtesy of Saveur Magazine)
2  15-oz. cans black-eyed peas, drained and rinsed
1⁄4 cup roughly chopped cilantro
1⁄4 cup extra-virgin olive oil
1⁄4 cup red wine vinegar
1 clove garlic, finely chopped
1 serrano chile, stemmed, seeded, and finely chopped
1⁄2 red bell pepper, cored, seeded, and finely chopped
1⁄4 red onion, thinly sliced
Kosher salt and freshly ground black pepper, to taste

Directions
Combine first 8 ingredients in a bowl; season with salt and pepper.  Refrigerate for 4 hours or overnight. Serve on top of lettuce leaves.
I think the black eyed peas would go very nicely with 101 Cookbook's Tofu Burgers with Nuts and Mushrooms which was one of my first blog posts! Enjoy!

You Can't 'Beet' Lithuanian Summer Borscht


The other day I caught an episode of Andrew Zimmern's Bizzare Foods. He was in St. Petersburg, chowing down on what he said was the most amazing borscht he had ever eaten. The soup had cabbage, beets, juniper berries and beef.  It got me thinking about borscht, a peasant beet soup that is incredibly popular in Eastern and Central Europe and probably originated in the Ukraine. I've long been a big beet fan (see this post and this recipe from Kitchen Confidante) and since we got beets and cucumbers in our last CSA pick-up, I thought the time was right for borscht.  Not only is borscht delicious, but beets are really, really good for you too. 
There are many kinds of borscht.  There's cold borscht, hot borscht, Ukranian Borscht, Lithuanian Borscht, Jewish Borscht, Russian Borscht, Romanian Beet Soup, Polish White Borscht-- I think you get the picture.  Along with all these styles of soup comes plenty of debate on which is best: hot vs. cold, potatoes vs. egg and buttermilk vs. chicken stock.  Whatever side of the debate you come down on, you can always enjoy a bowl of this wonderful Lithuanian Borscht.
This soup is perfect for an afternoon picnic in Coney Island or Brighton Beach.  I love the boardwalks in the summertime. 
Enjoy this soup and serve it with an accompaniment of boiled potato and dill. It's delish. 
For more on borscht click onto this article from The Guardian.

Lithuanian (Cold) Summer Borscht, Saltibarščiai (Adapted from a Ukranian Orphans Website that lists the World's Best Borscht)
Ingredients:
5 large beets
1 larger size cucumber, peeled and chopped
2 or 3 tablespoons chopped fresh dill depending on taste
About 1/4 cup chopped green onions/scallions (I think you could easily do 1/2 cup)
1 tablespoon lemon juice
1 quart of cold buttermilk (*I used fat-free and it was delicious)
salt and pepper to taste (I think I used 1/2 teaspoon pepper and 3/4 teaspoon salt)

1-2 hard boiled egg, chopped
Dollop of sour cream
(I added a splash of white wine vinegar too)
Directions:
Boil beets in a large pot of boiling water for 30-45 minutes, until tender.  When they are cool, lightly scrub away the skins.  *Reserve 2 cups of beet water.
Grate beets and put them in a large bowl with chopped cucumbers, chopped dill, green onions and reserved cooking water.  Gently blend.
Whisk together lemon juice and buttermilk and slowly pour over the beet mixture until the consistency satisfies you. Go slowly; you might not want to use the entire quart.
Add salt and pepper to taste.  Optional: add a splash of white wine vinegar.  Gently blend in the chopped egg.
Caution on the reserved beet water – the beets have to be ultra clean before boiling  otherwise there will be grit in the soup (yuck!).
Refrigerate until well chilled.

Summer Squash Soup with Thai Red Curry and Tofu Croutons

This is our second year in a CSA and I've learned that you sink or swim with the farmers. If there's a blight on a particular fruit or vegetable (like tomatoes, for example), then you're out of luck. But on the other hand, if there's an abundance of something, you get to reap the benefits. And that's what has been happening with yellow summer squash; we've got tons of it.
I turned to this recipe from Heidi Swanson's cookbook Super Natural Every Day which my friend Charlotta (of Swedish Chokladbollar fame) made for one of our play date lunches. I loved it. There's creaminess from the coconut milk, heat from the Thai curry paste (I used 2 tablespoons instead of one) and it made good use of some of our CSA bounty. 
Hope you like it as much as we did. Enjoy!
SUMMER SQUASH SOUP with Thai Red Curry and Tofu Croutons 
Serves 6
8 oz. Extra Firm Tofu cut into 1/2 inch cubes
Fine grain sea salt

2 tablespoons Thai Red Curry Paste (original recipe uses 1 tablespoon)

3 tablespoons olive oil, plus more for tofu croutons

3 large shallots, chopped

1.5 pounds yellow squash (about 3-4 depending on size) cut half then cut into 3/4" chunks (I wasn't too precise since I decided to make this soup smooth by pureeing it.)

12 oz potatoes, unpeeled and diced into cubes (3-4 medium size potatoes)

3 cloves garlic, chopped (original recipe had 4 cloves)

1 cups lightly flavored vegetable broth
1 cup of water

1 14 oz can coconut milk (I've used regular and light)

Directions
1. Season the tofu with a pinch of salt, toss with a small amount of oil, and cook in a large skillet over medium-high heat for about 5-8 minutes (tossing gently once or twice), until browned on both sides. Set aside.

2. Mash the curry paste into the oil until the paste is well incorporated. Heat the paste in a large heavy pot until fragrant, about 1 minute. Stir in the shallots and a dash of salt and sauté until the shallots are tender, another couple of minutes.

3. Stir in the squash and potatoes and cook until squash begins to get tender, a few minutes. Stir in the garlic, then add the broth & coconut milk. Bring just to a boil, then lower heat to a gentle simmer, stirring occasionally, until the potatoes are tender, about 15 minutes.

4. Taste and adjust salt or curry paste if needed. Serve each bowl topped with tofu croutons and some loosely chopped fresh basil.

Marlow & Sons' Most Amazing Chocolate Caramel Tart


My mom once told me, "If at first you don't succeed, try (and try) again." 
That's pretty much how I feel about this absolutely amazing Chocolate Caramel Tart...
* * *
We invited Kathyrn and Ed over for dinner, for the first BBQ on our balcony. Oh you heard me right, I said balcony! Outdoor spaces are at a premium in Brooklyn and while our new abode lacks many things (square footage, for example), outdoor space--I'm happy to report, it's got! I made Heidi Swanson's Summer Squash Soup with Tofu Croutons and Thai Red Curry (Doubles? yes, please!) and Kat made a potato salad that hit the spot. There was barbeque fare and I made a vegetarian burger topped with a spicy mayo dip and some avocado for our vegetarian guest (which was really just me).
...then it was time for dessert.  
Ever since I started re-reading back issues of Saveur magazine, I've been wanting to make the Chocolate Caramel Tart from Marlow & Sons (Marlow & Sons is kind of like the big jewel in a crown that includes Diner and Roman. I think it has some of the most delicious food in Brooklyn right now.) Then I saw photos of the very same tart on Lottie + Doof, one of my favorite food bloggers. I was salivating. I had to make this tart and this BBQ was the perfect occasion.
I also wanted to do something special for Kat and Ed because they have been so, so tremendously helpful to us. They have baby-sat Otis more times than I can count on my fingers and toes, and they offer to watch him. Kat would say, "Hey Bats, we'd love to spend some time with Otis next week. Let us know if you want us to come over." Can you believe it?! We aren't even related by blood. They go above and beyond...
So I thought this tart was the perfect 'Thank You.' You can imagine, then, how bummed I was when it turned out that the caramel part of the tart was all wrong. I'd never made caramel before and I made an amateur mistake. I knew it immediately and it was confirmed when I sliced the tart for serving. Whaa. Boo Hoo. Sob. Sob.
I felt defeated. I was bummed. I didn't have a candy thermometer and I (incorrectly) guessed that step #2 (see below) would only take a minute or two after the sugar came to a boil. Turns out it takes around 15 minutes for sugar to caramelize and the best way to determine whether your caramel is done is by color. You can do this by cooking the sugar (before you add the butter, cream and creme fraîche) in a pot with a light color bottom like white enamel. Color, color, color. The color should be a deep, rich amber-- the color of caramel. The boiling sugar (remember, without stirring or interference) starts to turn a light brown color and then gets deeper and deeper. Then, off heat, you add the remaining ingredients. My first caramel filling was a murky white and pretty much looked like sugar sludge. No good. I just didn't give it enough time. I'm not sure what I was thinking! Again, it should take between 12 and 15 minutes for the sugar to caramelize-- but remember, color is key! Lesson learned. 
So while we all thought the original crust was perfect and the ganache was to-die-for, the caramel filling needed some work.  
And, if at first you don't succeed, try again. This is me...trying again! I'm glad I did. The tart came out perfectly. I'm going to drop some off for Kat and Ed. Personal delivery of two amazing slices of chocolate caramel tart?  I think that delivers the 'Thank You' message loud and clear!


Chocolate Caramel Tart (Courtesy of Saveur Magazine and inspired by Lottie +  Doof)
Serves 8
Ingredients:
For the Crust:

1 1⁄2 cups flour
1⁄4 cup plus 1 tbsp. dutch-process unsweetened cocoa powder
1⁄4 tsp. kosher salt
10 tbsp. unsalted butter, cubed and softened
1⁄2 cup plus 2 tbsp. confectioners' sugar
2 egg yolks, preferably at room temperature
1⁄2 tsp. vanilla extract
For the Caramel:
1 1⁄2 cups sugar
3 tbsp. light corn syrup
1⁄4 tsp. kosher salt
6 tbsp. unsalted butter
6 tbsp. heavy cream
1 tbsp. crème fraîche
For the Ganache:
1⁄2 cup heavy cream
4 oz. bittersweet chocolate, finely chopped
Gray sea salt for garnish


Directions:
1. Make the crust: Heat oven to 350˚. Combine flour, cocoa powder, and salt in a medium bowl and set aside. Using a handheld mixer, cream the butter and sugar in a large bowl until mixture is pale and fluffy; mix in yolks and vanilla. Mix in dry ingredients. Transfer dough to a 9" fluted tart pan with a removable bottom and press dough evenly into bottom and sides of pan. Refrigerate for 30 minutes. Prick the tart shell all over with a fork and bake until cooked through, about 20 minutes. Transfer to a rack and let cool.
2. Make the caramel: In a 1-qt. saucepan, whisk together sugar, corn syrup, salt, and 6 tbsp. water and bring to a boil. Cook, without stirring, until a candy thermometer inserted into the syrup reads 340° (the recipe in the hard copy of Saveur said 365-- but I'm going by the color). Remove pan from heat and whisk in butter, cream, and crème fraîche (the mixture will bubble up) until smooth. Pour caramel into cooled tart shell and let cool slightly; refrigerate until firm, 4–5 hours.
3. Make the ganache: Bring cream to a boil in a 1-qt. saucepan over medium heat. Put chocolate into a medium bowl and pour in hot cream; let sit for 1 minute, then stir slowly with a rubber spatula until smooth. Pour ganache evenly over tart and refrigerate until set, 4–5 hours. Sprinkle tart with sea salt, slice, and serve chilled.


mixology: summer quenchers with Royal Rose Syrups

I love to drink things: lemonade, limeade, berry drinks and fresh seasonal juices quench my thirst.  Of course I am not one to shy away from a great cocktail or a nice glass of wine either, though with the impending arrival of Baby #2 I stick to 'virgin' drinks these days.   After making Brian's Berry Limeade a few weeks ago, I decided I should really post more drink recipes.  

Royal Rose Syrups is a local Brooklyn-based company that makes simple syrups using organic ingredients, fair trade sugar, filtered water in addition to fruits and spices. The company was started by Emily Butters and her fiancé Forrest Butler. According to a piece the Tasting Table, canning peaches innocently led to the company's start.  Forrest asked if he could use left-over canning liquid which was then used in experimental batches of simple syrup…and Royal Rose Syrups was born.

I got my hands on some samples which included Raspberry, Lavender-Lemon, Cardamon-Clove, Rose and Three-Chiles.  
Here are a few recipes using Royal Rose Syrups.  These drinks are delicious and are perfect for a summer picnic or your July 4th BBQ party.  So go ahead, get in touch with your inner mixologist...bottoms up and enjoy!


For the mama-to-be/non-alcoholic...
Eternal Summer  (Courtesy of Royal Rose Syrups)
Yields: 1 serving
Ingredients
Juice of half an orange
3.5 oz. cranberry juice
3/4 oz. of Royal Rose Lavender-Lemon Syrup
Half a shot of lemon juice
Directions
Shake like mad, pour over ice, top with 7-Up (I went with some San Pellegrino) and garnish with an orange. Enjoy!


For those who imbibe the real stuff...
Cigarette Girl (Courtesy of Royal Rose Syrups)
Yield: 1 serving
Ingredients
2 oz. gin
3 teaspoons Royal Rose Raspberry Syrup
3 teaspoons freshly squeezed lemon juice
Fresh mint
Soda water
Directions
In a Boston shaker or jam jar, combine mint with raspberry syrup and lemon juice.  Add ice and gin and shake vigorously.  Serve on the rocks with a splash of soda water and a sprig of mint.  Enjoy!


World's End (Courtesy of Tasting Table, Adapted from Royal Rose)
Yield: 1 serving
Ingredients
½ ounce Royal Rose C
ardamom-Clove Syrup
½ ounce fresh lemon juice
2½ ounces white rum
Lime wedge
Ice
Directions
Combine the syrup, lemon juice and ice in a Boston shaker. Add the white rum. Shake vigorously and serve straight up or on the rocks with a lime wedge.


Full size syrups cost $10 and are available at: Stinky Bklyn, Blue Apron, By Brooklyn, Brooklyn Larder and online at royalroseny.com