
Your Custom Text Here
gunnison's black canyon + ina's salted caramel nuts (perfect for hiking, the holidays, or any other time!)


A few weeks ago, my friend Jayme and I went to hear Ina Garten speak at the Paramount Theater in Denver. I loved listening to her talk about her transition from policy paper-pusher at the Nuclear Regulatory Commission to food gourmand and business owner. I've always credited Ina as the person who got me inspired to cook unfussy seasonal dishes that are big on flavor, so it was interesting to hear how her recipes go from concept to print.
Anyway, this recipe for Salted Caramel Nuts comes from Ina's most recent cookbook "Make It Ahead"- which, if you couldn't guess, really works well with my current lifestyle.

travelogue: portugal + pastéis (pastel) de nata

I can’t remember exactly when Matt started putting our trip together, but some time last year we decided we should visit Portugal and we would get there by cashing in all the frequent flier miles we had been squirreling away. It had been years since the two of us took a vacation alone - that is, without kids. Our plan began to hatch when we found out that my husband's cousin would be getting married in Manhattan in June. Since Otis and Theodore were invited to the celebration, it made sense for us to fly in, go to the wedding, let the boys spend quality time with their grandparents and extended family for 8 days, while Matt and I traveled to Lisbon. Though the frequent-flier-non-direct route to Portugal seemed a little bit silly and a smidge inconvenient (NY à North Carolina à Philly à Lisbon), the multiple stops without the boys really didn’t seem like a big deal. Besides, I had so many magazines to catch up on and books to read too! It sounded like the perfect plan.
But the timing of the trip wasn’t perfect at all. My father passed away in May, and while the shivawas over, I wasn’t sure what to do. Somewhere in my brain I thought that by going on this trip I wasn’t honoring his memory properly. I aired my concerns to my mother. She responded (with a strong Bronx accent) something like, “Batya, we’ve all been through a lot. Go with Matt. Have a blast. Enjoy each and every minute. Just go! Please.” My mother is known for being very direct and she never minces words. So I thought about it. We did need a change of venue. Maybe going on this pre-arranged trip would take my mind off things a bit
…or at least give me a respite from the constant grief that I had been feeling. Matt had been through a lot too, and I decided my mom was right. So we went. And I’m so glad we did.
Though there were constant reminders of my father on the trip, I was able to appreciate all the new things I was seeing. I felt inspired. We didn't rent a car, so we wandered the cobblestone streets of Lisbon for hours by foot. We went to the markets, the historic sites and we walked along the water. At night we made our way to the Festival of St. Antonio, a month long celebration that is particularly active in the oldest part of the city, the neighborhood of Alfama, which is also where we stayed. We took a 2 hour walking tour of the city and learned about azulejo, the ubiquitous blue tile paintings that tell the story of Lisbon’s denizens and her history. We arrived on the "early side" (10:30 pm!) at 100 maneiras and sat down for a 10-course tasting menu. It was modern-Portuguese meets molecular gastronomy, and yes they would accommodate vegetarians. That night, after dinner, we walked around for hours and took in all the architecture and the night-life. It felt great to be in the city.
After two days in Lisbon, we headed west to wine country. When we arrived in Estremoz, a walled city with a magnificent castle, we were a bit surprised to discover that the hotel we booked (the Pousada) was in fact the city's castle! It was regal and filled with aristocratic antiques. There was a beautiful pool too, which served us well because the weather was really (really) warm.
Our next stop was the coastal city of Cascais, which I mispronounced more times than I care to admit. We walked along the beach and toured the UNESCO World Heritage Sites at Sintra just a few miles away. We weren't able to find the pedestrian path that connects the historic city center to the castles, but being Coloradans (yup!) we decided to trek up the main road, dodging cars and scooters most of the way. I made the hike in less-than-optimal footwear, but after living at high(er) altitude for several years already I felt like I could conquer the "mountain."
When we got to the top of the mountain we toured the Palace of Pena, a 19th century architectural gem. It was incredible! And so was the Castelo dos Mouros (the Moorish Castle). Really a fortress, this castle dates back to the 8th century and was built by the Moors- Medieval Muslims who were predominantly of Arab and Berber descent and came from North Africa before settling in the Iberian Peninsula. They invaded Portugal in the early 700s, were eventually pushed back by Christian armies, but the Moors left, in addition to the fortress, a tremendous influence on Portuguese architecture, food and culture.
The World Cup began when we were in Portugal, too, which was pretty exciting considering the nation's love affair with futbol. The night of the first game we ordered cocktails at an outdoor bar situated on a large pedestrian thoroughfare. We were sandwiched between a skipper who had sailed down the coast of Portugal with his nephew, and an Irish potato farmer (a young guy around 28) and his girlfriend. I'm not exactly sure how we ended up at an Irish pub at 3 in the morning discussing the Isle of Man and the Bee Gees, but it did happen…as these things do when one travels.
We ate, we drank, and then we ate some more. In other words, we had a time.
This trip was the break we needed before getting back into the routine of regular life without someone we loved dearly.
Thank you, Portugal. Obrigado! I hope to see you again some day (soon).


Pasteis (or Pastel) de Nata is the most famous pastry in Portugal, and we had some excellent ones in Lisbon. One of my favorites came from a bakery called Pastelaria Orion. As we walked through the door the bakers were swapping out trays, so the pastries we ate were warm and just-out-of-the-oven. Top pasteis de nata can also be found in Belem (the most famous) and throughout Alfama. It's hard to find a bad custard tart in the city! And now, even 5 weeks after our trip, I'm still dreaming of them. Here's a recipe I liked.
Note: Homemade pasteis/pastel de nata probably won't have the char of the ones you'll find in bakeries or pictured below (from Pastelaria Orion). Unless that is, you have an oven that can get really hot.

PORTUGUESE PASTEIS DE NATA
(Courtesy of Leite's Culinary, David Leite, author of The New Portuguese Table)
Special equipment: a mini-muffin tin with 2-by 5/8 inch wells
Hands on time: 1 hour
Total time: 2 hours, 30 minutes
Yield: Makes about 40
*Read the comments in the link. They are useful.
INGREDIENTS
For the dough
•2 cups minus 2 tablespoons all-purpose flour
•1/4 teaspoon sea salt
•3/4 cup plus two tablespoons water
•16 tablespoons unsalted butter, room temperature, stirred until smooth
For the custard
•3 tablespoons all-purpose flour
•1 1/4 cups milk, divided
•1 1/3 cups granulated sugar
•1 cinnamon stick
•2/3 cup water
•1/2 teaspoon pure vanilla extract
•6 large egg yolks, whisked
•Powdered sugar
•Cinnamon
DIRECTIONS
Make the dough
1. In a stand mixer fitted with a dough hook, mix the flour, salt, and water until a soft, pillowy dough forms that cleans the side of the bowl, about 30 seconds.
2. Generously flour a work surface and pat the dough into a 6-inch square using a pastry scraper as a guide. Flour the dough, cover with plastic wrap, and let it rest for 15 minutes.
3. Roll the dough into an 18-inch square. As you work, use the scraper to lift the dough to make sure the underside isn’t sticking.
4. Brush excess flour off the top, trim any uneven edges, and using a small offset spatula dot and then spread the left two-thirds of the dough with a little less than one-third of the butter to within 1 inch of the edge.
5. Neatly fold over the unbuttered right third of the dough (using the pastry scraper to loosen it if it sticks), brush off any excess flour, then fold over the left third. Starting from the top, pat down the packet with your hand to release air bubbles, then pinch the edges closed. Brush off any excess flour.
6. Turn the dough packet 90 degrees to the left so the fold is facing you. Lift the packet and flour the work surface. Once again roll out to an 18-inch square, then dot and spread the left two-thirds of the dough with one-third of the butter, and fold the dough as in steps 4 and 5.
7. For the last rolling, turn the packet 90 degrees to the left and roll out the dough to an 18-by-21-inch rectangle, with the shorter side facing you. Spread the remaining butter over the entire surface.
8. Using the spatula as an aid, lift the edge closest to you and roll the dough away from you into a tight log, brushing the excess flour from the underside as you go. Trim the ends and cut the log in half. Wrap each piece in plastic wrap and chill for 2 hours or preferably overnight.
Make the custard
9. In a medium bowl, whisk the flour and 1/4 cup of the milk until smooth. Set aside.
10. Bring the sugar, cinnamon, and water to a boil in a small saucepan and cook until an instant-read thermometer registers 220°F (100°C). Do not stir.
11. Meanwhile, in another small saucepan, scald the remaining 1 cup milk. Whisk the hot milk into the flour mixture.
12. Remove the cinnamon stick then pour the sugar syrup in a thin stream into the hot milk-and-flour mixture, whisking briskly. Add the vanilla and stir for a minute until very warm but not hot. Whisk in the yolks, strain the mixture into a bowl, cover with plastic wrap, and set aside.
Assemble and bake the pastries
13. Heat the oven to 550°F (290°C). Remove a pastry log from the refrigerator and roll it back and forth on a lightly floured surface until it’s about an inch in diameter and 16 inches long. Cut it into scant 3/4-inch pieces. Place a piece cut-side down in each well of a nonstick 12-cup mini-muffin pan (2-by-5/8-inch size). Allow the dough pieces to soften several minutes until pliable.
14. Have a small cup of water nearby. Dip your thumbs into the water, then straight down into the middle of the dough spiral. Flatten it against the bottom of the cup to a thickness of about 1/8 inch, then smooth the dough up the sides and create a raised lip about 1/8 inch above the pan. The pastry sides should be thinner than the bottom.
15. Fill each cup 3/4 full with the slightly warm custard. Bake the pasteis until the edges of the dough are frilled and brown, about 8 to 9 minutes.
16. Remove from the oven and allow the pasteis to cool a few minutes in the pan, then transfer to a rack and cool until just warm. Sprinkle the pasteis generously with powdered sugar, then cinnamon and serve. Repeat with the remaining pastry and custard. If you prefer, the components can be refrigerated up to three days. The pastry can be frozen up to three months.
Here's another one that I will try from The Portuguese Diner, Tia Maria
And another recipe
Or I simply might just go back to Lisbon. Yeah, that sounds good!
Friday Favorites: Sweet Treats (Mostly Chocolate)

love + chocolate molten cake


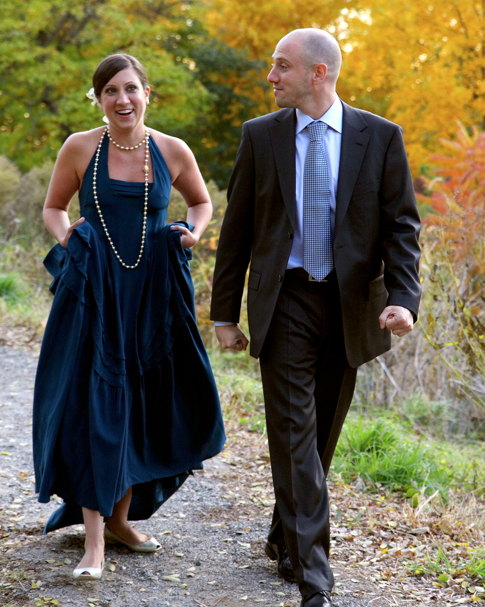
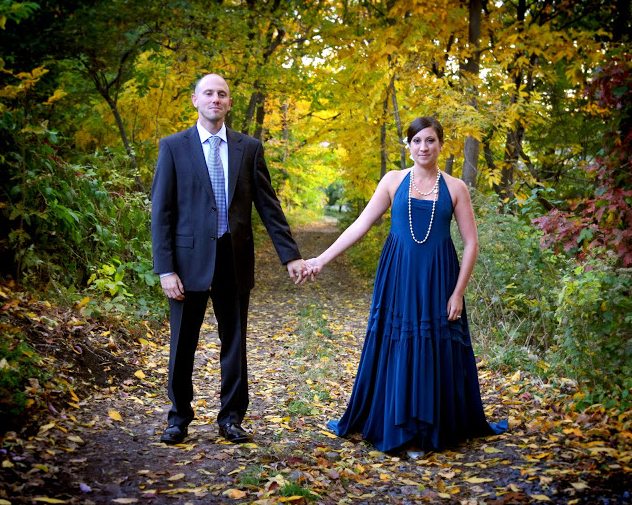


When we bought our home in Denver, it was our hope that it would be filled with a never-ending stream of loved ones and neighbors. And in that sense, our hope has come true. For almost nine weeks straight, family and friends came to stay with us- beginning in July and ending in the early fall. Friends who were road-tripping across the country, friends who were making Denver a pit stop on a larger trip to explore national parks, and friends who just wanted to see where we finally landed (and missed us!) all made their way to our new abode in Congress Park. My parents, my brother, in-laws, aunts and cousins came too. We all cooked together, ate together, drank together, and sat outside on the porch talking and laughing. There was warmth and love…and somehow, in our fair city by the mountains, we managed to create our own little chuppah-- where the door is always open…and if you come and visit you'll be greeted by something warm coming out of the oven…maybe, even, this chocolate molten cake.
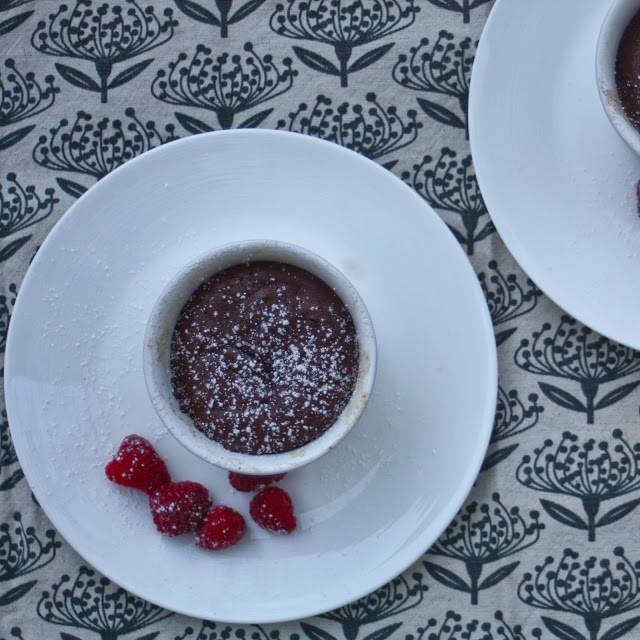
Last month Matt and I celebrated our 5th wedding anniversary. To celebrate the milestone I made Chocolate Molten Cake, which was the dessert served at our wedding! This recipe comes from a former law school classmate, Laura Marasco, who like me, seems to have developed a love of cooking and baking. So thank you Laura for sending this my way. The recipe is an amalgamation from several sources and Laura cobbled it together about 10 years ago. If it is attributable to any one particular source, she can't remember. My only tip is: DO NOT over bake it! For all you Denverites out there, I suggest pulling the ramekins out of the oven at around 9 minutes!
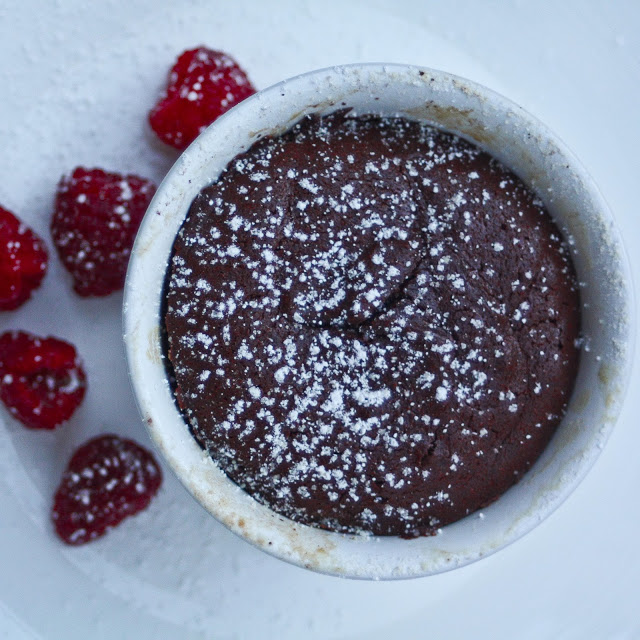
Makes 4
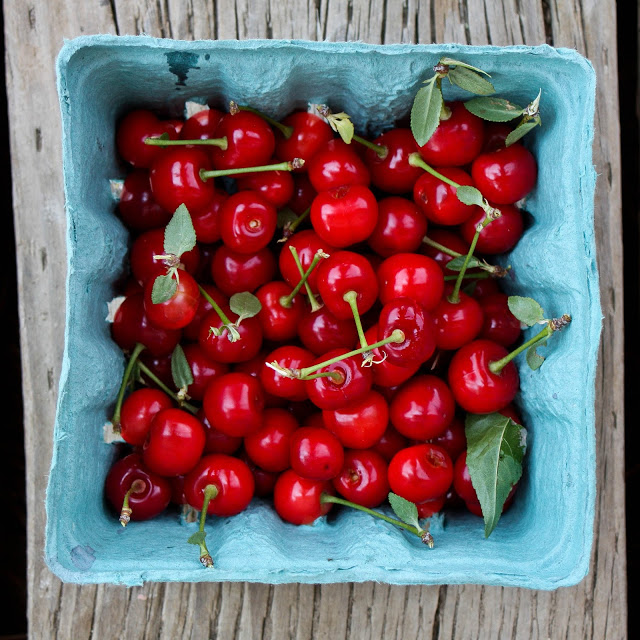
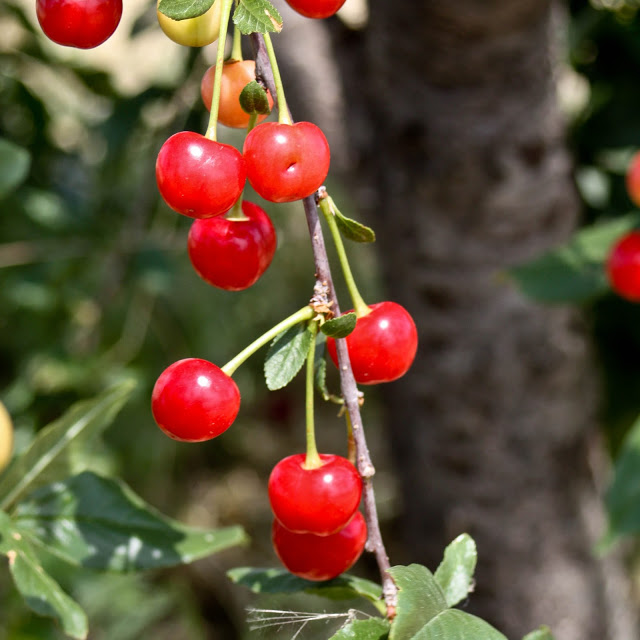
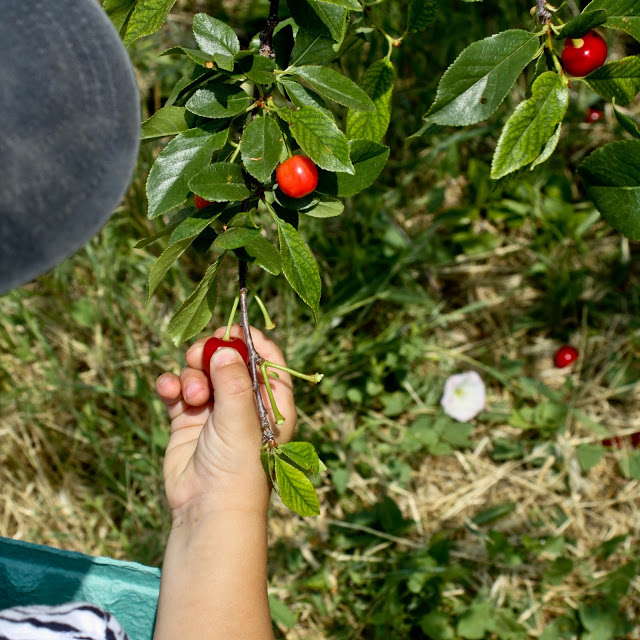
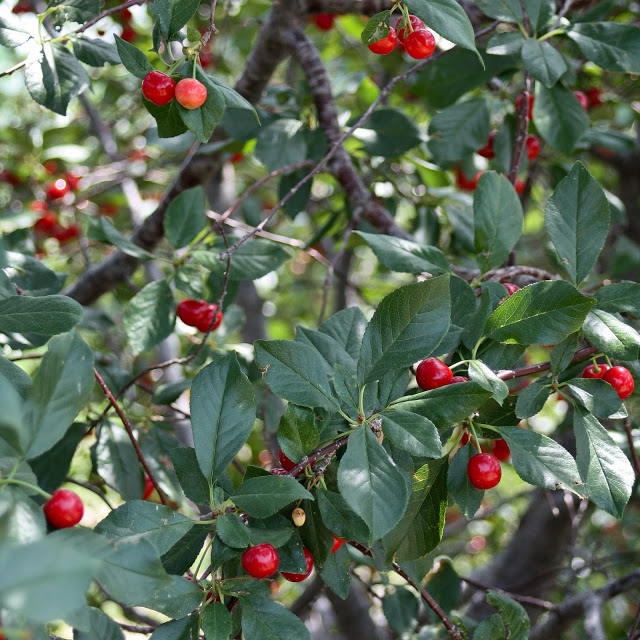
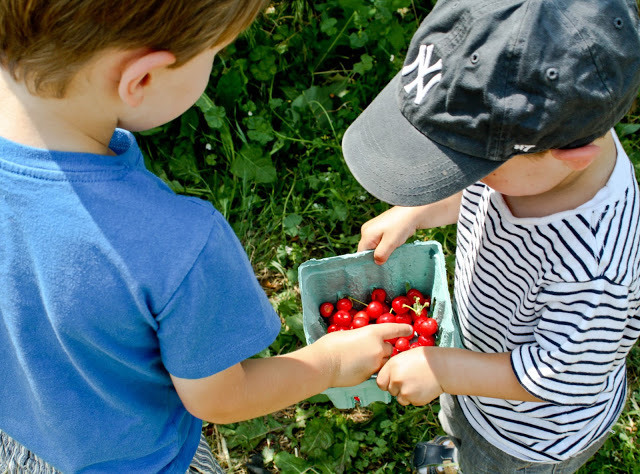
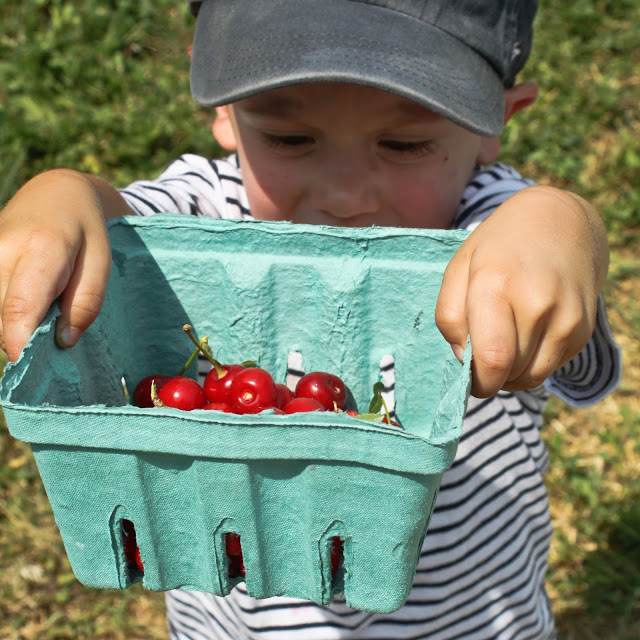
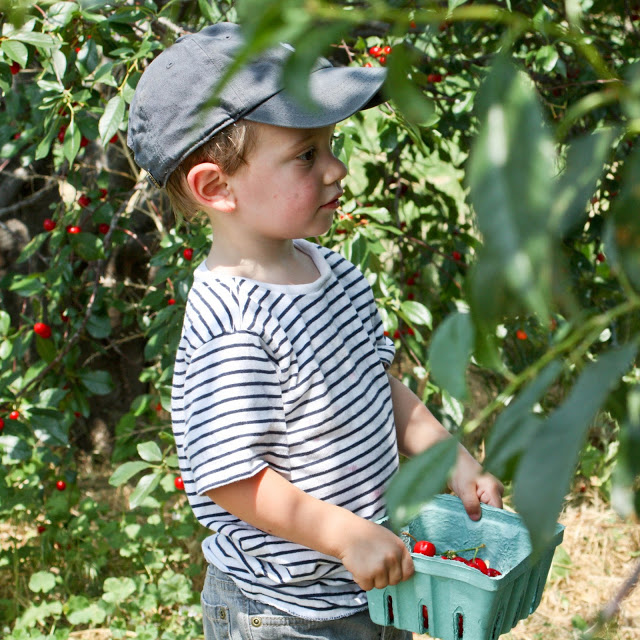
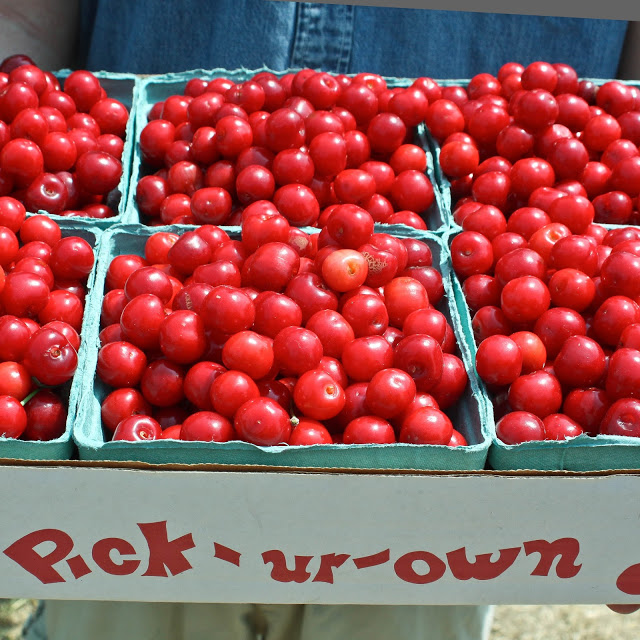
cherry picking at berry patch farms (+cherry compote)
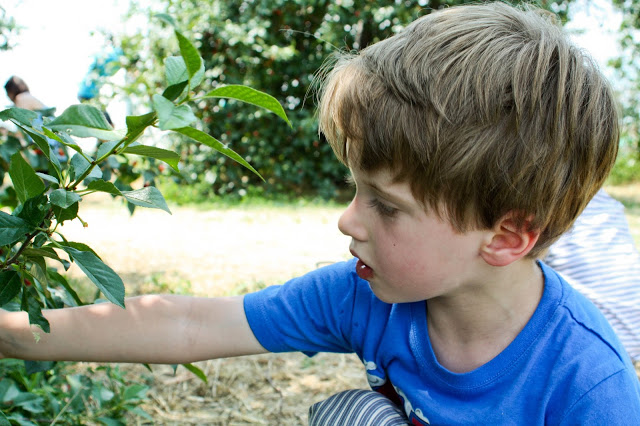
Otis, who turns 4 in the fall, has already committed himself to being a firefighter, a surgeon, a train conductor, a man who studies planets, a dinosaur expert and a farmer when he grows up.
I told him, "Well Otis, those are all very hard and worth while jobs. You can do any one of those things so long as you put in a lot of hard work..." He nodded his head like he understood.
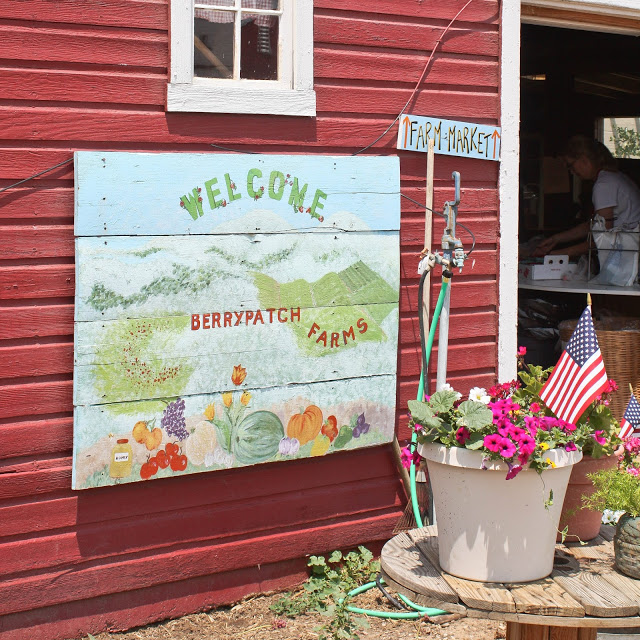
But hard work doesn't always guarantee success. On a trip to Berry Patch Farms we learned that even hard work can result in a total crop failure, as was the case for the farm's first round of strawberries which were non-existent due to late snowstorms in April. Yet the farmers remain determined; they are hopeful that another crop will come around in August and they say the fruits are looking good so far...
I was impressed that even while acknowledging "some years this sort of thing, it just happens," the farmers remain so optimistic.
That's when I realized that I'd probably make a terrible farmer. I don't mind hard work (and the drenching sweat that comes from spending long hours in the hot sun), but the stress that comes with the territory and the strength you must posses in order to accept things that are beyond your control (like nature) well, that would be too much.
When we moved into our new house, I thought that we would finally be able to "live off the land." Despite our small urban plot, I was thinking we'd be able to grow enough tomatoes (heirloom, beefsteak and cherry), jalapeno peppers, cilantro, basil, dill, cauliflower, and strawberries to take us through the summer months.
But luck was not on our side and I didn't anticipate the bellicose bunch of squirrels who are constantly making war with me and my garden. To make matters worse, I planted almost everything in what-was-then (April) the sunniest part of the garden, but what-is-now the shadiest part of the garden (July). So unfortunately everything except for a few tomatoes and some basil is pretty much dead. Yup, my own personal crop failure. (But I will carry on...)
I already know what went wrong. I planted things too quickly. I rushed to get things into the ground. I didn't do my research. And I should have calculated the risk of having hungry squirrels and little boys on the premises. But live and learn, as they say...


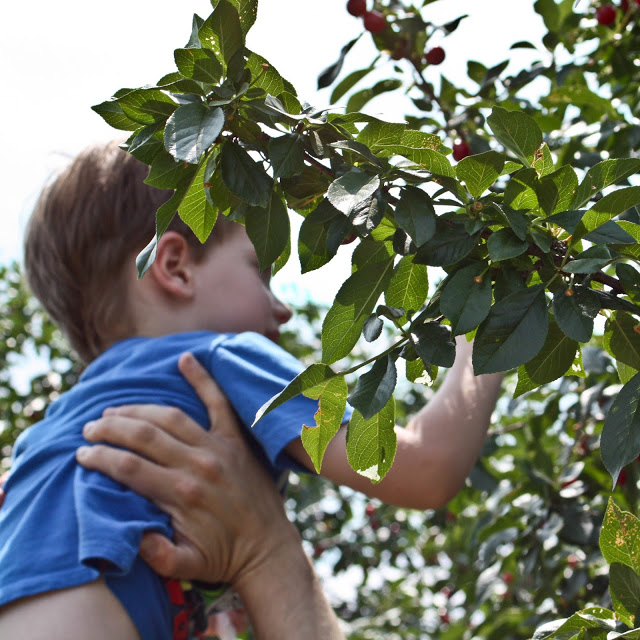
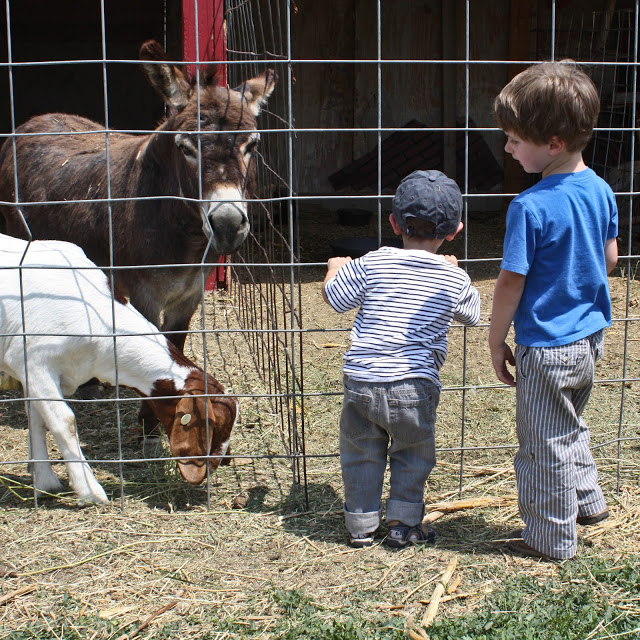
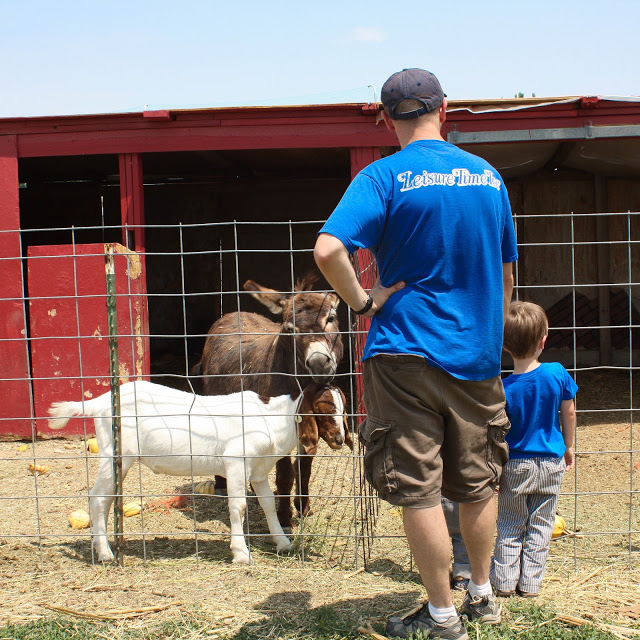
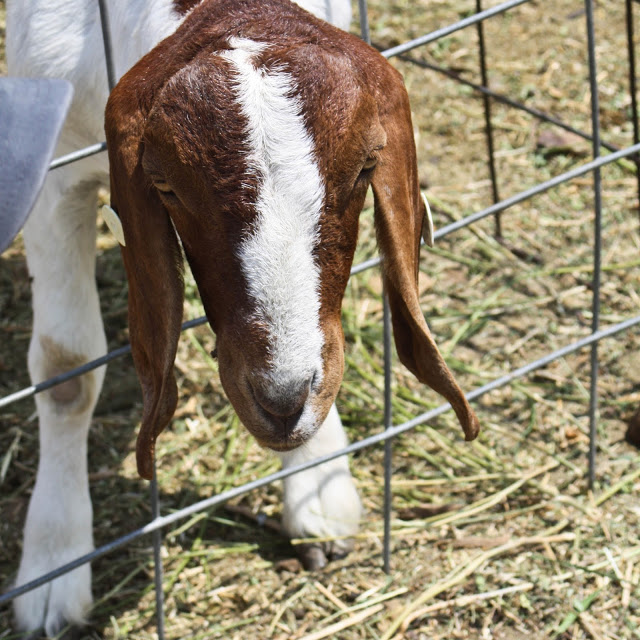
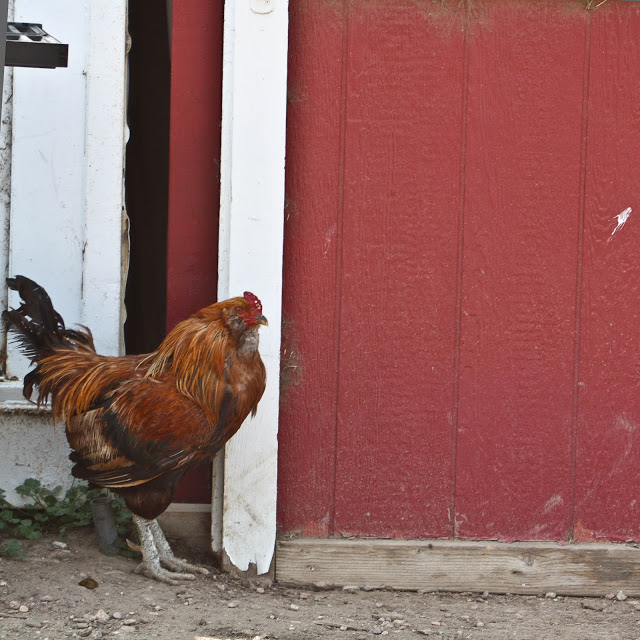
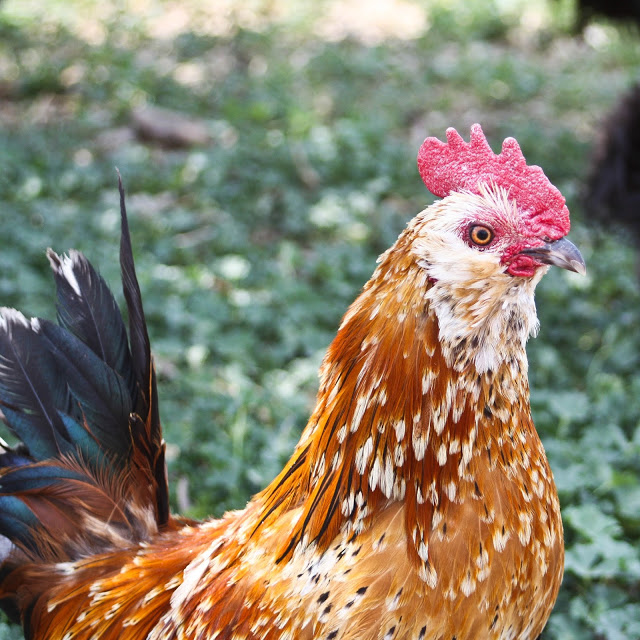
There are billy goats, chickens, turkeys, a pot bellied pig and a donkey on the grounds. This had me thinking about how great it would be to have a chicken coop in our backyard. But then I thought about our neighbors who live in the old carriage house behind our home, and maybe they wouldn't be so keen on the noise and such. So we will have take a wait and see approach...
I think there's a nice take-away from the farm that benefits both me and my children: work hard, stay the course, and when things head south remain hopeful and always (try to) have a smile on your face. That's what I saw at Berry Patch.
When we got back to Denver (which is about 25 minute away), I was craving cheesecake, which does happen from time-to-time (okay, more often than not). This cherry compote took just a few minutes to make and it went right on top of my upstate cheesecake. There are very few pairings that I like more than this one...(but this one comes close).
Happy day, now go hug a farmer.
xo,
Batya
Ingredients
10 ounces sweet or sour cherries, pitted
2 tablespoons lemon juice
1/4 cup sugar
1 tablespoon cornstarch
1/2 cup water
Making the cherry topping: Place all ingredients together in a medium saucepan. Bring to a boil. Once it is boiling, cook it for an additional one to two minutes then remove from heat. Cool completely.
Spread topping over chilled cheesecake.
cherry, arugula and quinoa salad by cookie + kate
cherry pie by lottie + doof
red fruit salad by heidi swanson of 101cookbooks


I enjoy traveling, photography, hiking, street art, design, architecture, food trucks, gardening, the cosmos, cooking with the seasons, political activism and wallpaper! I know my interests span a variety of categories, here's where they all come together.

