
Your Custom Text Here
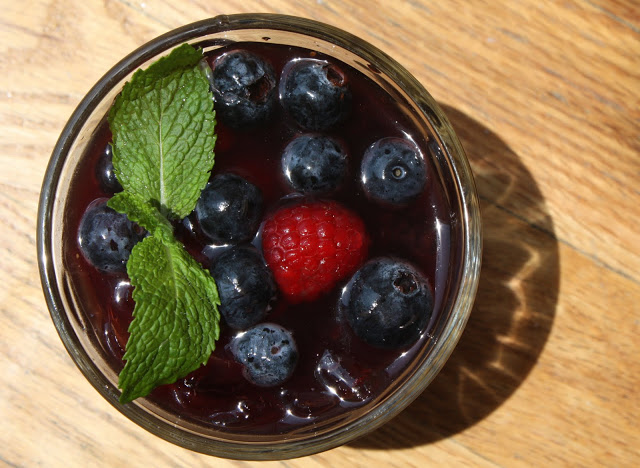
Shvitzfest Quencher: Brian's Homemade Berry Limeade
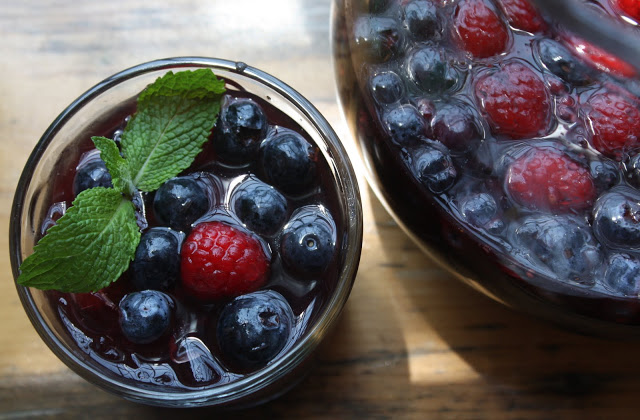
The temperature in New York City is above 90 degrees, so it's hot, hot, hot! Cooling stations have been opened city-wide and most playgrounds have the sprinklers going at full blast. Fans are oscillating and air-conditioners are running. We are officially in the midst of a heat wave.
We've been having a slight air-conditioning issue in our apartment because the security bars on the back porch windows have to be opened in order to put an air-conditioner in-- and it's a bit of a challenge to keep switching it in and out. So the bedrooms are cool and comfortable. The common/living area and kitchen, not so much.
We've been having a slight air-conditioning issue in our apartment because the security bars on the back porch windows have to be opened in order to put an air-conditioner in-- and it's a bit of a challenge to keep switching it in and out. So the bedrooms are cool and comfortable. The common/living area and kitchen, not so much.
That means I am having chilled soups, big salads and some pasta salad I made yesterday for the next few days. I'd have to be insane to turn on the oven or have the burners on for more than a few minutes.
Lucky for me, I've got the perfect cool-down recipe...Brian's Berry Limeade. This refreshing beverage was a big hit at The Dinner Club, Part II and I'm making a big batch of it today.
Enjoy and keep cool!
Lucky for me, I've got the perfect cool-down recipe...Brian's Berry Limeade. This refreshing beverage was a big hit at The Dinner Club, Part II and I'm making a big batch of it today.
Enjoy and keep cool!


Brian's Berry Limeade
Ingredients
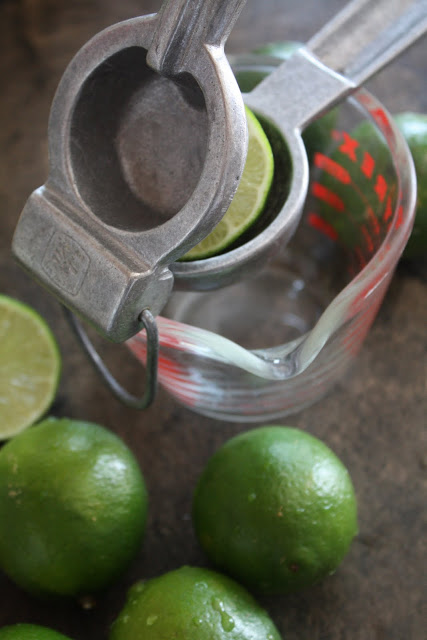
8 limes, squeezed with no seeds
1 bottle of organic black cherry juice (I think it's Lakewood brand)
1/2 cup orange juice
1/3 container of roughly squeezed raspberries
2/3 container of raspberries
1/3 container of roughly squeezed blueberries
2/3 container of blueberries
1/2 cup of simple syrup
Directions
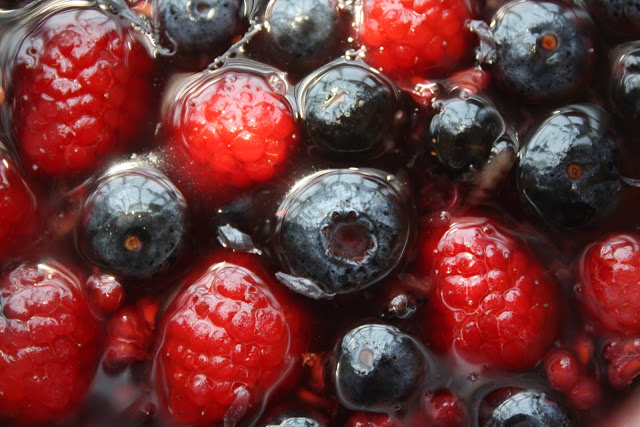
Combine lime juice, cherry juice and orange juice in large bowl with roughly squeezed blueberries & raspberries (I squeezed them in my hand and put all of the mushed bits in the concoction). Let sit for 15-20 minutes. Strain into two pitchers and add remaining raspberries & blueberries. (I made everything in my oversized glass pitcher.) Add in simple syrup to taste. Put into fridge & let it sit for at least 2 hours. Will keep for 3 days (if it lasts that long).
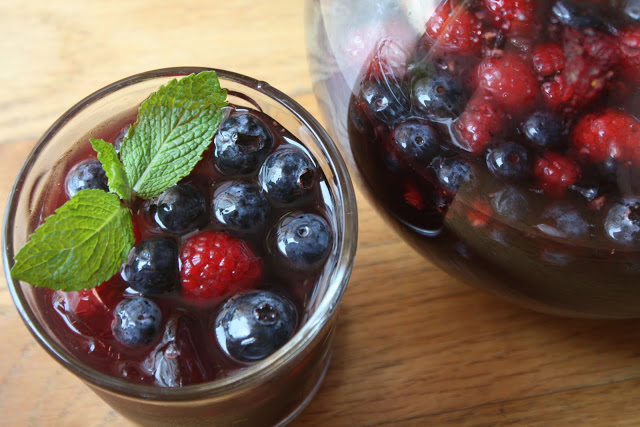
I add a few crushed mint leaves for garnish.
Arugula Walnut Pesto

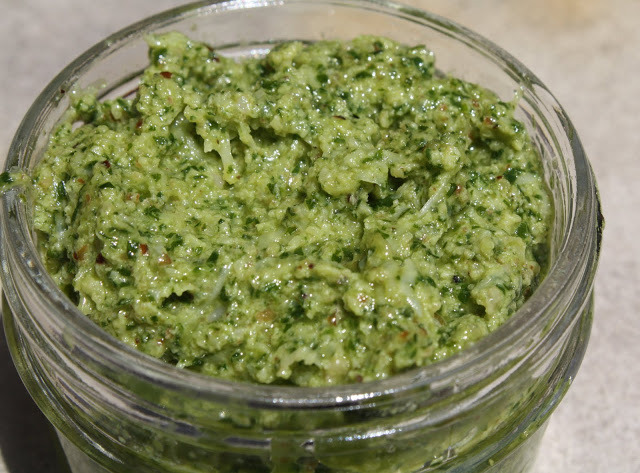
The pesto recipe was originally posted by Elise of SimplyRecipes. You might recall that I made her mücver (zucchini) fritters a few weeks ago. She's an extremely talented cook.
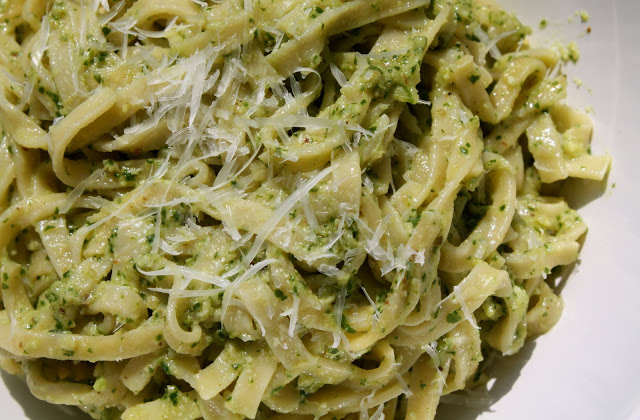
Anyway, this recipe is seasonal and the pesto pairs perfectly with fresh pasta and some parmesan shavings. I like making sauces that don't require a lot of flame time because my teeny-tiny kitchen starts to heats up around this time of year.
A note on garlic: This recipe uses roasted garlic which is a great way to keep the garlic flavor without the garlic-intensity that you can sometimes find in pesto.


Yields 1 heaping cup
Ingredients
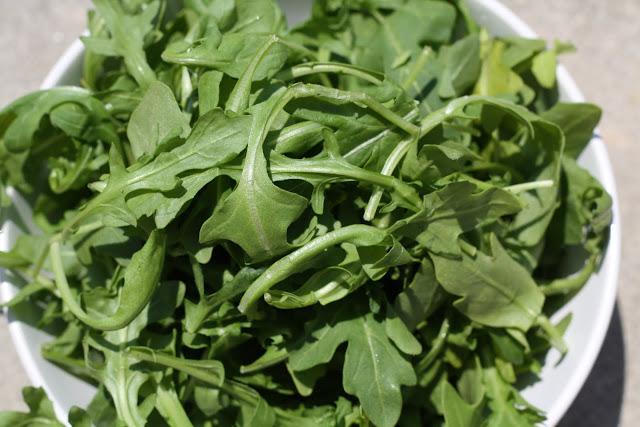
2 cups of packed arugula leaves, stems removed
1/2 cup of shelled walnuts
1/2 cup fresh Parmesan cheese
1/2 cup extra virgin olive oil
6 garlic cloves, unpeeled (I went with 5 cloves)
1/2 garlic clove peeled and minced (I left this out)
1/2 teaspoon salt
Directions
Brown 6 garlic cloves with their peels on in a skillet over medium high heat until the garlic is lightly browned in places, about 10 minutes. Remove the garlic from the pan, cool, and remove the skins.
Toast the nuts in a pan over medium heat until lightly brown.
Food processor method (the fast way): Combine the arugula, salt, walnuts, roasted and raw garlic into a food processor. Pulse while drizzling the olive oil into the processor. Remove the mixture from the processor and put it into a bowl. Stir in the Parmesan cheese OR
Mortar and pestle method (the slower way): Combine the nuts, salt and garlic in a mortar. With the pestle, grind until smooth. Add the cheese and olive oil, grind again until smooth. Finely chop the arugula and add it to the mortar. Grind up with the other ingredients until smooth.
Serve with pasta, over freshly roasted potatoes, roasted tomatoes or as a sauce for pizza.
Ina's Chilled Cucumber Soup
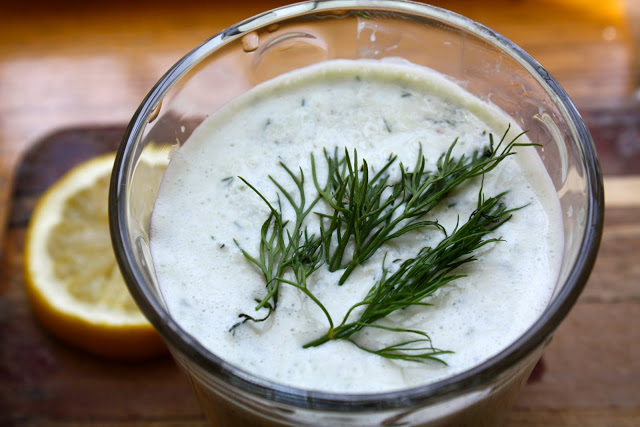
Memorial Day Weekend has been jam-packed
and it's not even halfway over. Last night we went to the wedding of two very
close friends. I managed to stave off the tears at the ceremony and chupah (because
with me and my current state of pregnancy- once I start going, it's hard to
turn the spigot off), but the tears started coming down (without abatement)
during the groom's speech. And they couldn't be stopped. There was so much
laughing and crying (from laughing so hard)...it was just one of those
wonderful nights and one terrific wedding.
The bride was gorgeous, the venue
was beautiful, the drinks were flowing (many Manhattans for my husband/a small
glass of champagne for me), and the night was truly wonderful.
Now between the wedding, the post-wedding
brunch and a BBQ later this evening, I haven't been doing much cooking. But I
do have to put something together for a Governor's Island picnic tomorrow. And I don't have a ton of
time.
I decided to go with a chilled soup instead
of something hot. It is, after all, over 90 degrees in NYC and that's without
factoring in the humidity. So any soup that can come together sans stove-top is
much appreciated.
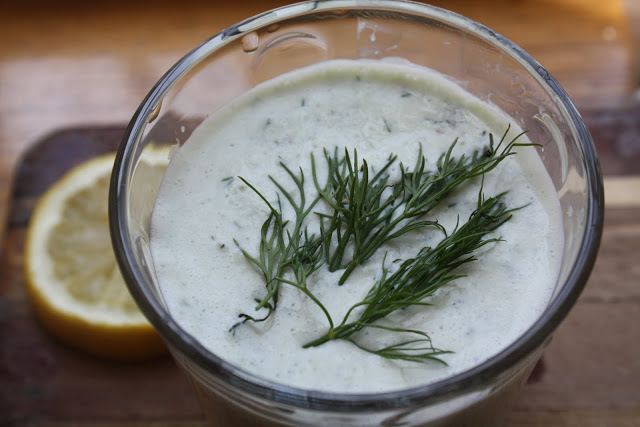
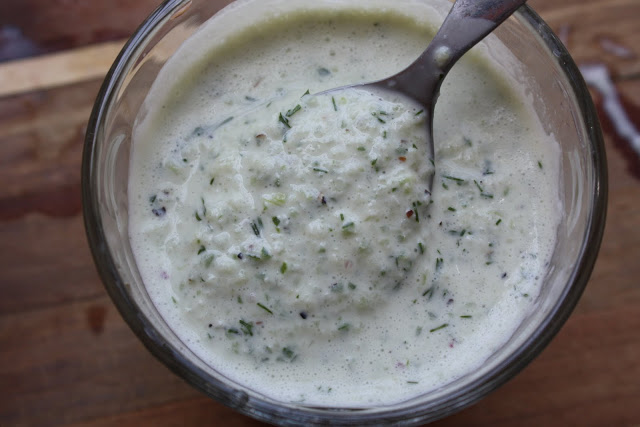
This soup is so easy to make (all you need
is a big bowl and a food processor) and it's big on flavor. The freshness of
summer dill, the sharp bite of red onions and the refreshing coolness of the
cucumber meld together perfectly in the Greek yogurt. The fresh lemon juice
(introduced just before serving) really makes the soup pop!
It's an easy solution for all your early
summer picnics! Enjoy. And have a wonderful holiday weekend…
Chilled Cucumber Soup
(Courtesy of Ina Garten, Barefoot Contessa, Back to Basics)
Serves 6
• 3 (7 ounce) containers Greek yogurt
• 1 cup half-and-half (I went with between 1/2 cup and 3/4 cup)
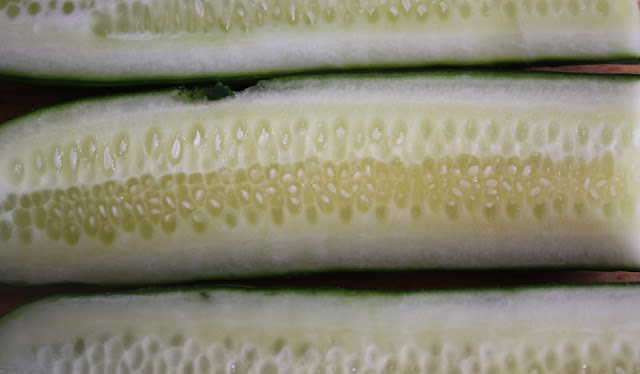
• 2 hothouse cucumbers, unpeeled, seeded and chopped
• 1/2 cup chopped red onion (I will go with 1/4 cup next time)
• 6 scallions, white and green parts, chopped
• 4 teaspoons kosher salt
(start with 3-- or even 2 1/2 and add
more salt to suit you preferences* see comments)
• 1 1/2 teaspoons freshly ground black pepper
• 3 tablespoons chopped fresh dill
• 1/2 cup freshly squeezed lemon juice (4 lemons)
• Thin slices of lemon, halved, for garnish
• Fresh dill, for garnish
Directions
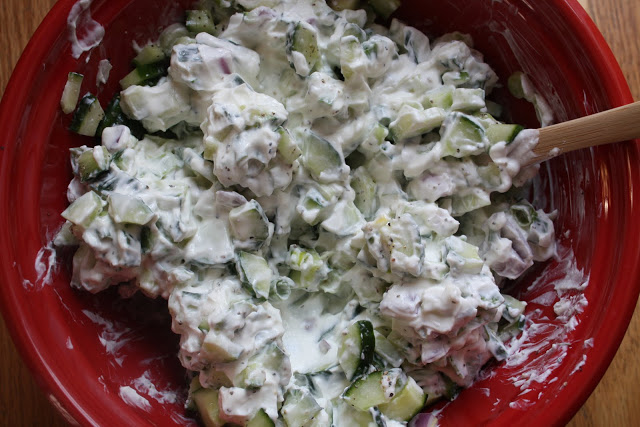
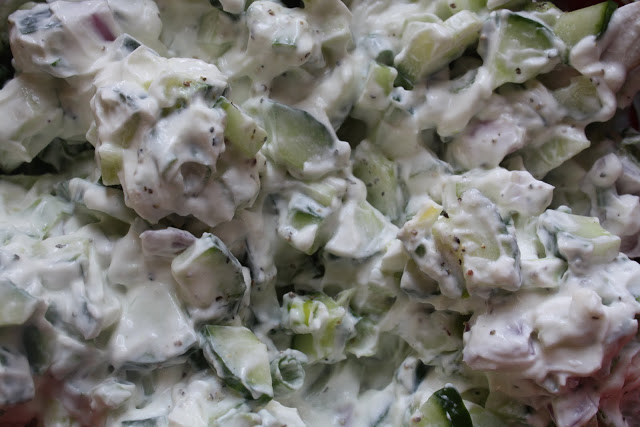
In a large mixing bowl, stir together the yogurt,
half-and-half, cucumbers, red onion, scallions, salt, and pepper. Transfer the
mixture in batches to the bowl of a food processor fitted with the steel blade.
Process until the cucumbers are coarsely pureed and then pour into another
bowl. Continue processing the soup until all of it is pureed. Fold in the dill,
cover with plastic wrap, and refrigerate for at least 2 hours, until very
cold.
Just before serving, stir in the lemon juice. Serve chilled, garnished
with lemon, and fresh dill.
In the original recipe, Ina adds 3/4 cup of cooked,
halved shrimp. I left it out.
5Pointz, Long Island City, Queens and Pizza Margherita

On the day the world was supposed to end (May 21,
2011), we hopped on the subway and headed towards Queens. I really wanted
to check out 5Pointz, a graffiti/street art project on the facade of a 200,000 square foot factory building in Long Island City. It had long been on my list of places to visit, so I was glad we finally
got to see it.
At 5Pointz, artists get permits to "tag"
and paint; it's all completely legal. Most of the work is ephemeral and only lasts a few weeks before it is painted over, but the really good
stuff stays around for a bit longer...

Matt, Otis, a very pregnant yours truly, and our dear friend Andrew (a supremely talented modern classical composer who's working on a piece called Otis!) decided
that before we took in all the street art, a pilgrimage to Jackson Heights' Delhi Palace was
in order. With bellies full of delicious Indian food, we then set out…



















* * *
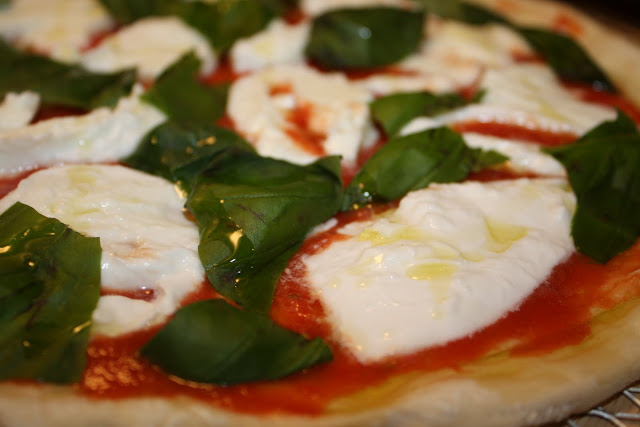
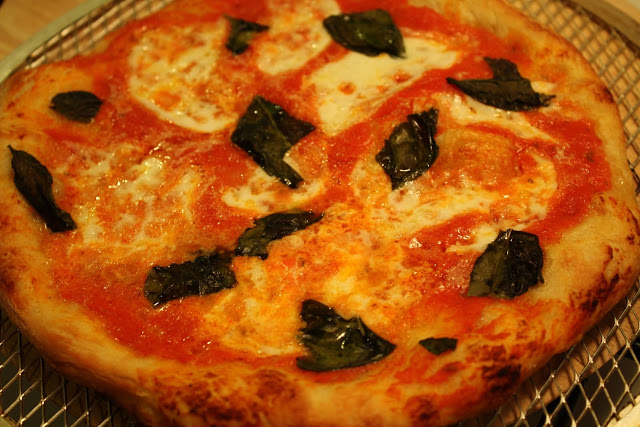
It was a nice weekend and nothing could cap it off better than some homemade pizza. I was craving a DiFara style pie, but not wanting to wait 2 plus hours in Midwood, I decided to make the pizza myself by adapting a recipe I saw in Saveur.
Cook's Tip: Use high-quality, fresh mozzarella and slice the cheese into 1/4 inch rounds. Place the cheese in between 2 paper towels. Put a plate on top of the covered cheese and weigh it down for 20 minutes. You can use a large can of tomatoes or some other canned product for the weight. This will get the moisture out of the cheese so you don't have puddles on your pizza!

Pizza Margherita (Adapted from Saveur Magazine's adaptation of Tony Germignani's recipe for Tony's Pizza Napoletana
in San Francisco)
Yields 2 11-inch personal pies
Ingredients
1 ball of dough (I purchased a ball of pizza
dough from Union Market and it was excellent. Another good option-- your
local pizza shop. Many will sell you a ball of dough for a buck or two.)
Extra-virgin olive oil
San Marzano tomato sauce (recipe follows)
One large ball of mozzarella di buffala (it's
expensive but worth it)
Basil leaves
Salt and pepper
Directions
Remove dough from the refrigerator and let it
come to room temperature. Put a pizza stone on the lowest rack in the
oven and heat oven to 500 degrees; heat for at least 40 minutes. Working
with 1 piece of dough at a time (I divided my ball into two), dust with flour;
using your hands, stretch and shape dough into a 11-13 inch circle.
Transfer dough to a sheet of parchment paper or an oiled pizza mesh(I use
the mesh). Drizzle oil around rim of the dough. Spoon about 1/2 cup
tomato sauce onto dough leaving 1/2 - 3/4 inch border. (Original recipe had 1/4
cup of sauce on the dough. I used more.) Season with salt.
Arrange mozzarella di buffala evenly over pizza.
Drizzle pizza with more oil.
Using a pizza paddle or grasping the edges of the
parchment paper, transfer pizza to pizza stone. (I used a pizza paddle.)
Bake until golden brown, about 13 minutes.
Keep you eye on the pizza. One Saveur commenter noted that his
pizza was ready in 8 minutes. Our oven took 12-13 minutes and it was
perfect.
Slide pizza back onto the paddle and transfer to
a work surface. Top with basil, drizzle with more olive oil, if you like
(and I do!), and put the pizza back on the stone for 1 minute. Remove
pizza from oven. Slice.
Repeat with remaining dough and toppings.
Reserve remaining sauce for another use, such as pasta.
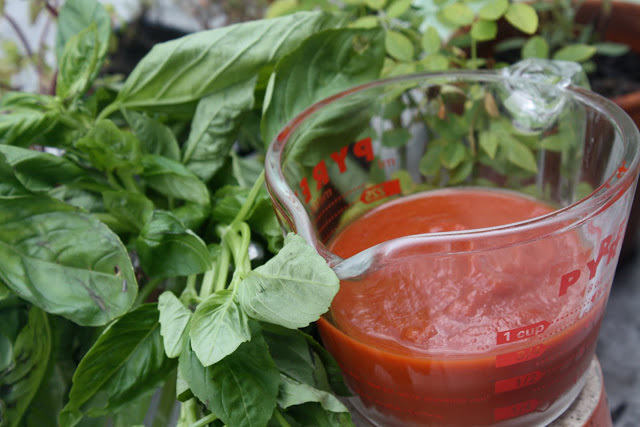
Basic Tomato Sauce
(Adapted from Smitten
Kitchen, inspired by 101 Cookbooks)
Ingredients
2 tablespoon butter or olive oil
2 large shallots, finely chopped
1 teaspoon crushed red pepper flakes
1 teaspoon fine grain sea salt
1 clove garlic, chopped
A couple glugs red wine
1 28-ounce can San Marzano tomatoes
1 15-ounce can pureed tomatoes
A handful of julienned basil (optional)
Zest of one lemon (optional)
Directions
Melt butter in saucepan over medium-high heat until
foam subsides. Add shallots, red pepper flakes, salt, and garlic sauteing them
together for a few minutes until the shallots are translucent and beginning to
color. Add the red wine, letting it sizzle and cook down slightly, then the
whole and pureed tomatoes. Breaking the whole tomatoes up with a wooden spoon,
let the sauce simmer for a few minutes. Season to taste. I used an immersion
blender to puree the sauce, but if you like a thicker texture, leave it as is.
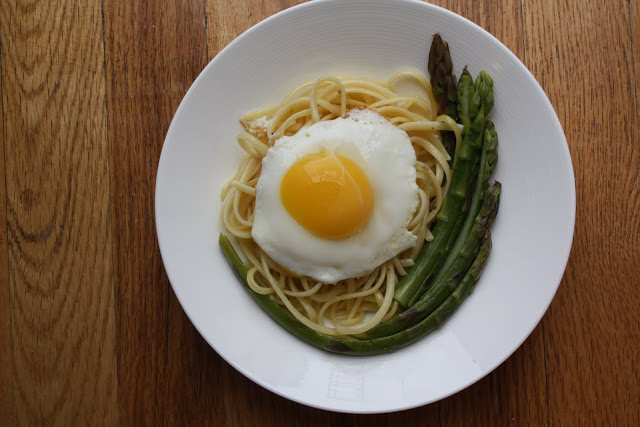
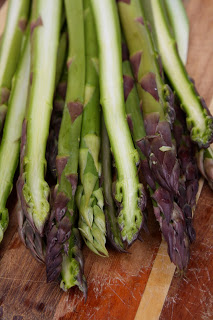
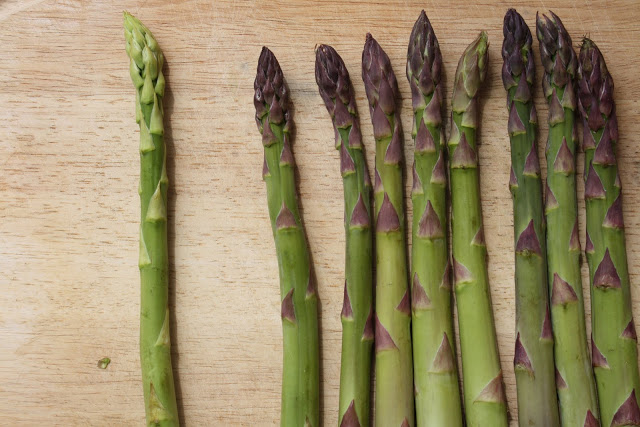
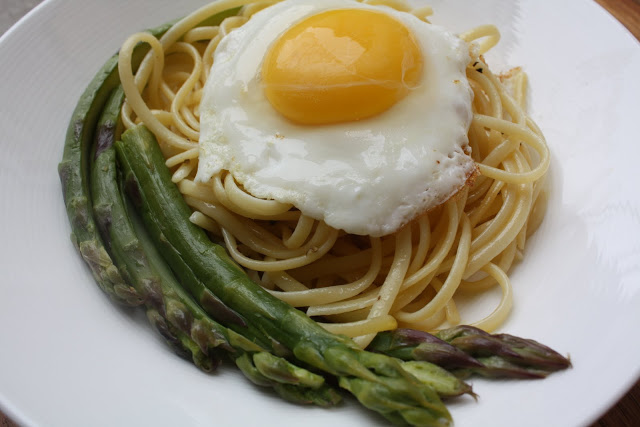
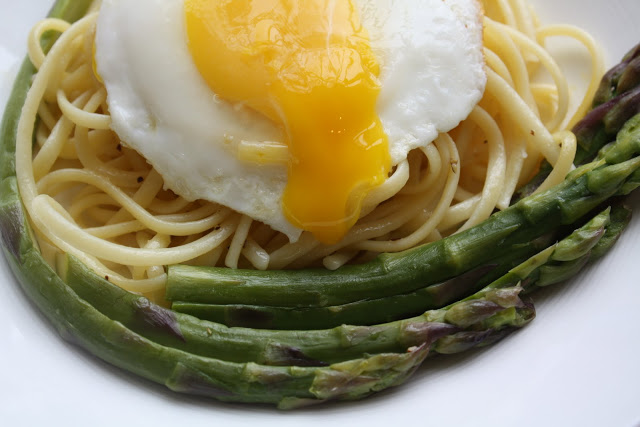
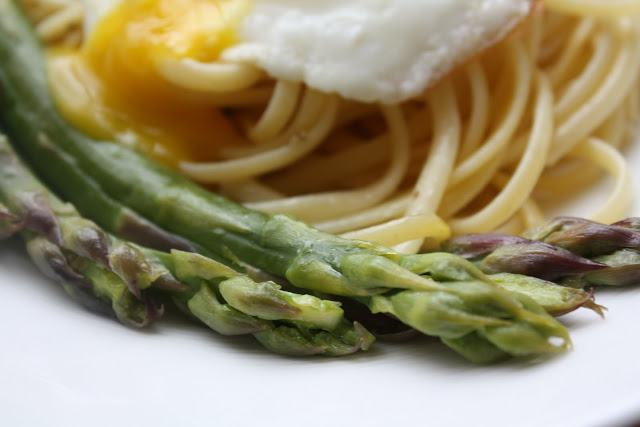
Martha's Linguine with Asparagus and Egg
- Ingredients
- Coarse salt and ground pepper
- 3/4 pound linguine or fettuccine (I like fresh pasta for this recipe and I would go with linguine. Fettuccine is too thick.)
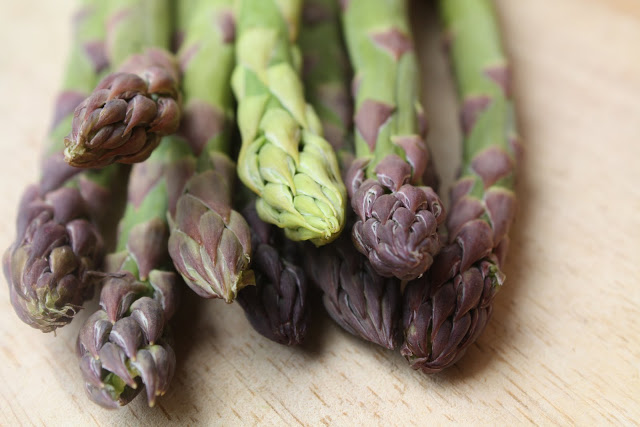
- 1 large bunch thin asparagus (1 pound), ends trimmed, halved lengthwise
- 3 tablespoons unsalted butter
- 1/4 cup grated Parmesan (1/2 ounce), plus more for serving (optional)
- 4 large eggs
Directions
- In a large pot of boiling salted water, cook pasta according to package instructions, adding the asparagus in the last minute of cooking. Reserve 1 cup cooking liquid; drain pasta and asparagus and return to pot along with butter and Parmesan. Toss until butter is melted, adding enough pasta water to create a thin sauce that coats pasta.
- While pasta is cooking, in a large straight-sided skillet, heat 2 inches water over medium until a few bubbles rise to the top. Crack each egg into a small bowl and gently pour into skillet. Cook until whites are set and yolks are runny, 4 minutes. With a slotted spoon, transfer eggs to a parchment-lined baking sheet. (See adaptation above.)
- To serve, divide pasta among four bowls, top each serving with an egg, and season with salt and pepper. Sprinkle with Parmesan if desired.
***
Hollandaise Sauce (Courtesy of The Joy of Cooking)Yields 1 cup
Place in the top of a double boiler or in a large stainless-steel bowl set up as a double boiler:
3 large egg yolks
1 1/2 tablespoons cold water
Off the heat, whisk the egg mixture until it becomes light and frothy. Place the top of the double boiler or the bowl over- not in- barely simmering water and continue to whisk until the eggs are thickened, 2-4 minutes, being careful not to let the eggs get too hot (or they will scramble). Remove the pan or bowl from over the water and whisk to slightly cool mixture.
Whisking constantly, very slowly add 1/2 cup warm (not hot) clarified butter, 1069Whisk in:
1 to 3 teaspoons fresh lemon juice
Salt and ground white pepper to taste
If the sauce is too thick, whisk in a few drops of warm water. Serve immediately or keep the sauce warm for up to 30 minutes by placing bowl in warm water.


I enjoy traveling, photography, hiking, street art, design, architecture, food trucks, gardening, the cosmos, cooking with the seasons, political activism and wallpaper! I know my interests span a variety of categories, here's where they all come together.

